Mugs are an excellent canvas for personalizing your drinkware. Whether you want to gift a DIY farmhouse coffee mug to someone special or create a unique piece of home decor, learning how to use Chalk Couture ink on a mug is a creative skill. In this guide, we will explore the step-by-step process of how to use Chalk Couture ink on a mug at home without a heat press, including the materials you need and the techniques to use. By the end of this article, you will be confident enough to make your own mugs at home with Chalk Couture inks.
Full Disclosure: This article may contain affiliate links. For more info, see the Disclaimer Policy

Step-By-Step Instructions On How To Use Chalk Couture Ink A Mug.
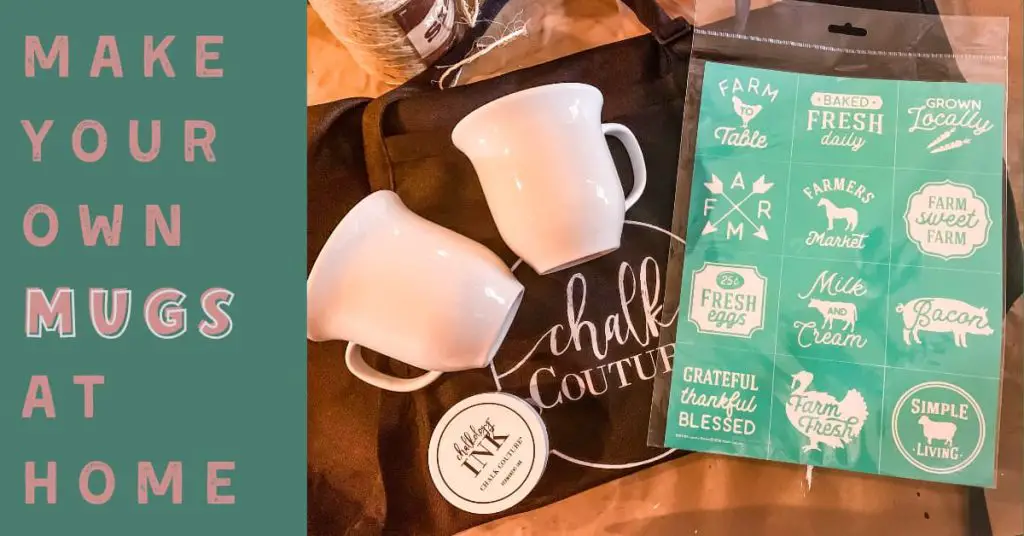
Supplies Needed To Make Your Own Mugs At Home Without A Cricut Machine
- Rubbing alcohol
- Cotton balls or pads
- Q-tips
- Oven Safe Coffee Mug
- Chalk Couture Ink
- Design ( Our mini designs and locally grown ones are perfect for this project.)
- Squeegee
- Oven
Step 1: Clean the Mug
Before starting to ink on your mug, it’s important to clean it properly. The surface should be free from dirt, oil, labels, and any other debris. To clean the mug, use rubbing alcohol and cotton balls to wipe down the surface thoroughly. Ensure that the mug is completely dry before moving on to the next step.
Step 2: Choose the Design Stencils For Custom Coffee Cups
The next step is to choose the Chalk Couture transfer / stencils mini designs and the color of Chalk Couture ink you want to ink on your mug.
Step 3: Start Inking on Mug
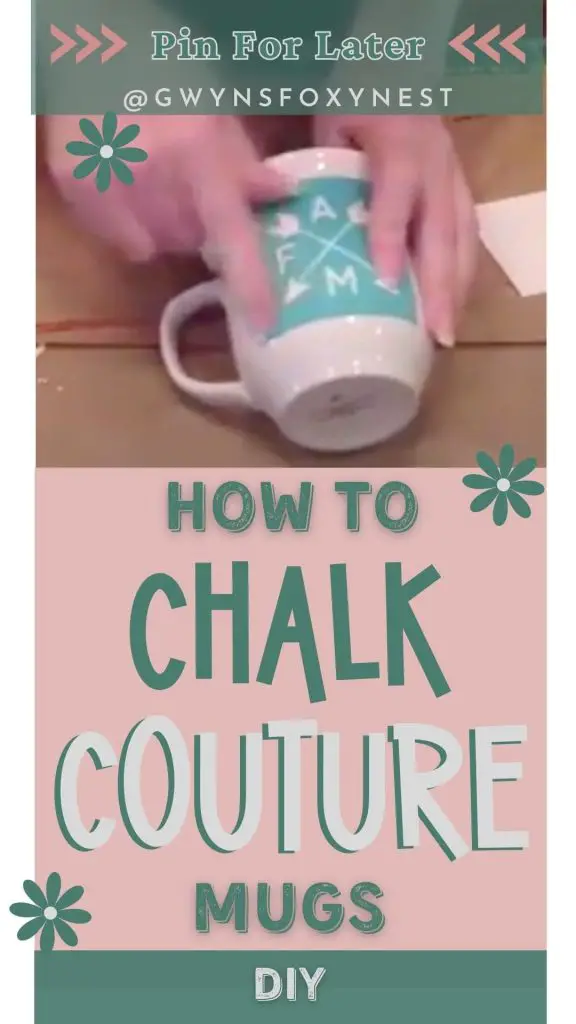
Once you have your design, it’s time to start inking on the mug. Begin by adding the Chalk Couture transfer/stencil to the coffee mug. Use your hands to make sure the transfer is in place and there are no air bubbles and it’s smooth. Next, dip the Chalk Couture squeegee into the ink and smear the ink onto the design in a thin layer with light pressure. If you make a mistake, use a Q-tip dipped in rubbing alcohol to correct it. At this point, the ink is still washable. Let the ink dry for at least 24 hours.

Step 4: How To Heat Set Chalk Couture Ink On Mugs
Heat setting ink on mugs requires an oven. It’s time to bake the mug! After you let the ink dry, it’s time to bake it to heat set the design on the mug. Make sure the mug is oven safe before you do this step.
- Place the mug inside a cold oven on a backing sheet.
- Set the oven temperature 350°F and bake the mug for 30 minutes – 1 hour.
- Once the time is up, turn off the oven and let the mug cool inside the oven for another 30 minutes. This will ensure that the ink is set properly.
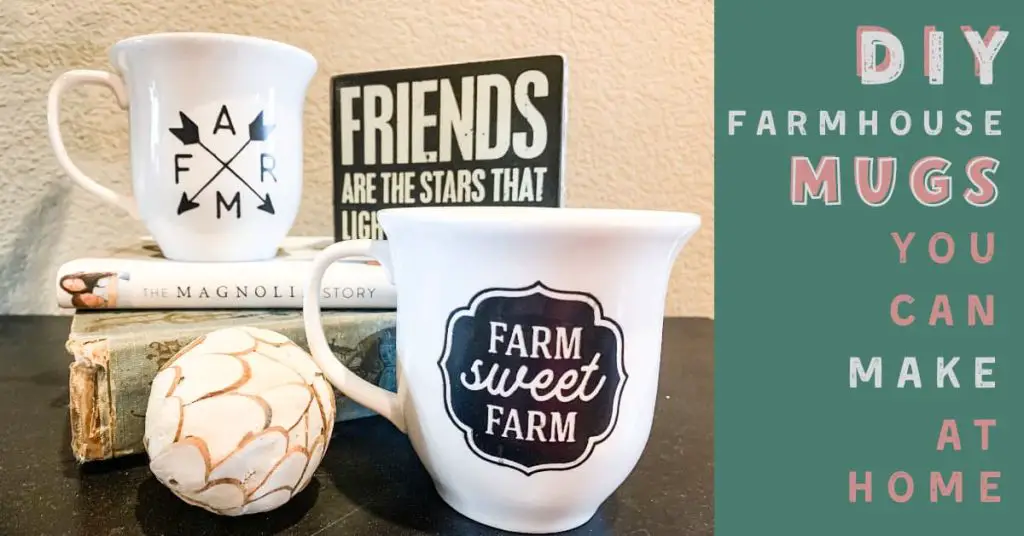
Step 5: Enjoy Your Custom DIY Farmhouse Mugs You Can Make At Home
After the mug has cooled down completely, it’s ready to use your new DIY farmhouse mugs you can make at home. Hand wash your mug gently with mild soap and warm water. Avoid using abrasive sponges or harsh chemicals that can damage the ink. Your custom mug is now ready to be used or gifted to someone special.
Step 6: Clean the Chalk Couture reuseable Silk Screen Transfer / Stencil
- Wash the silk screen transfer with water to remove all the ink.
- Lay it sticky side up to dry.
- Once it’s dry put it back on the white baker sheet to use again. The shiny side and the sticky side go together.
How To Use Chalk Couture Ink On A Mug Youtube Online Video
Tips & Tricks
- Having a square mug will be easier to create as the design will lay out nicer.
- If the ink smudges, simply wipe it off before you heat set it or take a q-tip to remove any smudged area.
- Chalk Couture Ink is not food safe so make sure the design stays a way from the rim of the glass where one’s mouth would touch.
Now you should feel confident on how to use Chalk Couture ink on a mug. There are a variety of design stencils for custom coffee cups from farmhouses to inspirational ones to choose from. You are sure to find the perfect piece to create DIY Farmhouse mugs you can make at home. Our farmhouse stencil designs are unique and only available online. Shop the full selection in my online craft store. Everything is delivered straight to your door in the US and Canada.
Don’t forget to share pictures of your creation with me. Come on over to my Facebook page and share it with me.
Make sure to pin to PINTEREST!! and follow my blog !!

Shop Chalk Couture Stencil Specials
FAQs
Q: Can you use Chalk Couture ink on glass?
Yes, Chalk Couture ink can be used on glass. You can use the same instructions in this article.
Q: What is the difference between Chalk Couture ink and paste?
Ink can be made permanent and should be used on products you want to wash and reuse such as mugs and shirts.
The paste is semi-permanent. Meaning it will go on wet and dries a hard consistency. You can use a sealer to make it permanent.
Q: Is Chalk Couture ink dishwasher safe?
Once you have heat set the Chalk Couture Ink it is dishwasher safe. I do prefer to wash my items by hand to be safe so the design does not come off.
Q: Where do I buy Chalk Couture Inks?
You can buy Chalk Couture Inks and Chalk Couture transfers/stencils in my online craft store. Everything ordered will be delivered to you in the United States and Canada.

how do you know if the mug you are buying is oven safe?
Hello Debra, If a mug is oven safe it normally says “oven safe” on the bottom of the mug. Here’s one on amazon – https://amzn.to/3pVLeR1 in the description it states it’s oven safe. #affiliatelink