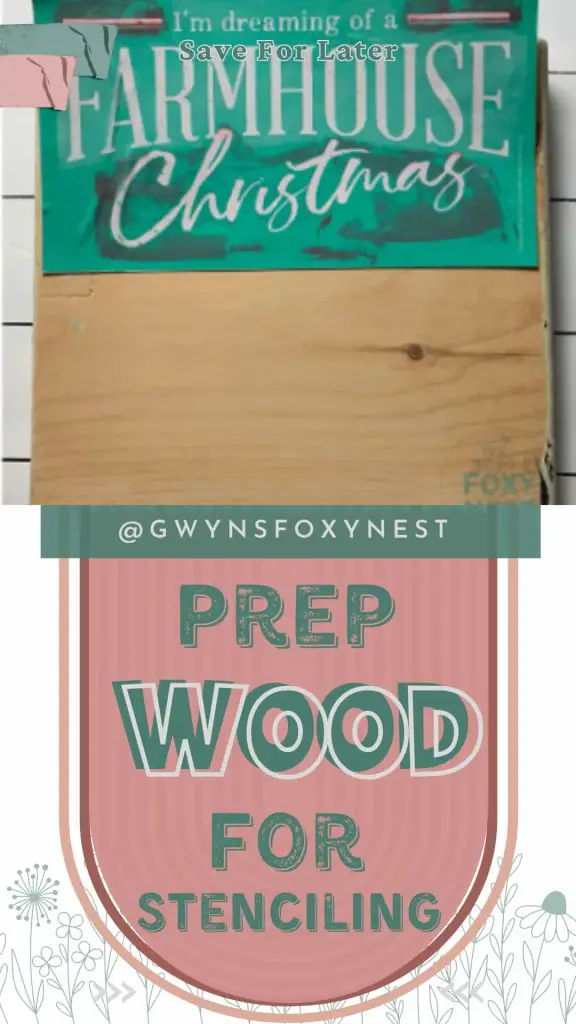
Stenciling on wood can be a fantastic way to add a personal touch to your farmhouse home decor or DIY farmhouse Christmas crafts. Whether you’re a seasoned crafter or just starting, preparing the wood properly is essential to achieve the best results. Let’s walk you through the steps on how to prep wood for stenciling, ensuring that your finished product looks professional and lasts for years to come.
Yes, even if you’re a beginner to stencil art!
Full Disclosure: This article may contain affiliate links. For more info, see the Disclaimer Policy
Importance Of Preparing Wood For Stenciling
It’s important to prep wood for stenciling to ensure a professional finish and protect your Chalk Couture Christmas stencils. Here are a few reasons:
- It saves the Chalk Couture stencil / silk screen transfer. The silk screen transfers are reusable up to a dozen times if taken care of. Without properly preparing the surface there is a risk of getting splinters on the transfer and/or stretching the transfer out.
- The stencils have a sticky adhesive backing which is why the designs come out with clean lines. If the surface is not prepped it may take the paint off the project. That’s a bummer for sure!!
- The wooden surface could absorb the chalk paste in different ways and ruin the outcome of the project design.
Choose the Right Wood
Selecting the right type of wood is the first crucial step in the stenciling process. Opt for smooth and flat wood surfaces, such as plywood, pine, or birch. Rough or uneven surfaces can make it challenging to achieve clean lines and may affect the stencil’s adherence. Here are a few things to keep in mind when choosing the right wood for stenciling:
- You can use any type of wood you would like. I recommend using untreated pine found at your local hardware store.
- The smoother the surface the clearer the design will come out. You can sand the wood to obtain a smooth finish.
- If you use a rough wooden surface the font will look very rustic and/or bleed.
Gather the Necessary Tools For Wood Sign Making
Before diving into the stenciling process, make sure you have all the required tools on hand. You’ll need:
- Hardware Store
- Untreated pine board. I had mine cut to 11” X 11.5”
- Sanding paper
- Paint
- I used General Finishes lamp black milk paint and Annie Sloan Old White chalk paint. You can use any paint you would like. I used what I had on hand.
- Amazon
- Chalk Couture
- Chalk Couture Christmas stencils / silk screen transfer
- Chalk Paste
- Squeegee
- Fuzzing Cloth
- Surface Wax & Applicator – Again use what you have on hand. I used Annie Sloan clear wax simply because I had it on hand.
Sand the Wood
Start by sanding the wood surface to create a smooth canvas for stenciling. Use medium-grit sandpaper to eliminate any rough spots or imperfections. Once you’ve achieved an even surface, switch to fine-grit sandpaper to achieve a velvety smooth texture.
Clean the Wood Sign Surface
After sanding, clean the wood surface with a tack cloth or baby wipe to remove any dust or debris. A clean surface ensures better adhesion of the paint, leading to a more polished final result.
Select the Right Paint
Choosing the right paint is vital for a successful stenciling project. I used chalk paint because it does not require the use of a primer before I paint on the wood. Ensure the paint you choose is suitable for wood surfaces. You can even use watered-down chalk paste.
Let the paint dry.
Apply Chalk Couture Surface Wax
Applying the surface is an important step when preparing wood For stenciling. This ensures the Chalk Couture adhesive stencil will not affect the paint on your freshly painted wood sign. It also helps the chalk paste to adhere to the wood sign correctly because sometimes the wood can be too dry and absorb more of the chalk paste than desired.
Take a wax applicator dip it into the jar of surface wax. Apply a small amount of wax to the applicator. Now rub the applicator over your project until you have covered it with a small layer of wax. It does not take much wax! At first, it will feel sticky! Keep rubbing it until it’s no longer sticky. After the wax is applied, wait a few minutes before applying the silk screen transfer / stencil.
Learn more about Chalk Couture Surface Wax ->->-> How to use Chalk Couture wax.
Position and Secure the Farmhouse Christmas Stencil
Carefully position the stencil on the painted wood surface the adhesive backing will hold it in place. Double-check that the stencil is straight and aligned correctly to avoid any mishaps during the chalking process. Take your hand and smooth out air bubbles.
Apply the Chalk Paste
Dip your squeegee into the chalk paste and apply the chalk paste over the Christmas stencil design. Avoid using too much chalk paste at once and/ or a big glob straight on the design, as it can bleed under the stencil and ruin the design.
Do NOT let the chalk paste dry.
Remove the Stencil Carefully
Once you’ve completed the chalk paste, gently remove the farmhouse Christmas stencil to reveal your design. Be cautious not to smudge the chalk paste while lifting the stencil.
Let the Chalk Paste Dry
Allow the chalk paste to dry completely before attempting to add additional layers or move on to the next section of the wood. Patience during this step ensures that your design stays intact and pristine. You can use a blow dryer on a low heat setting to speed up the drying process.
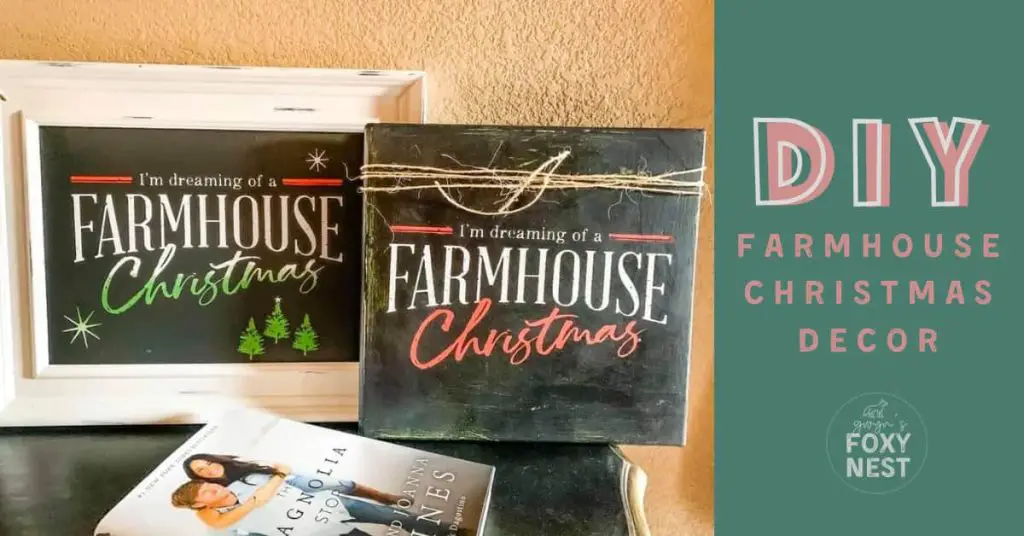
DIY Farmhouse Christmas Crafts Using Farmhouse Christmas Stencils Tutorial
View the online How-To video for the steps to use Chalk Couture Christmas Stencil on a wooden surface.
How to prep wood for stenciling is a critical process that significantly impacts the outcome of your stenciling project for Christmas. By choosing the right wood, gathering the necessary stenciling tools, sanding, cleaning, and using high-quality paints, you can ensure that your wood stencil projects stands out with its professional finish. Remember to take your time, follow each step carefully for prepping wood for stenciling, and soon you’ll be creating stunning stenciled wood creations that will impress everyone who sees them. Happy Chalking!
Make sure to pin to PINTEREST!! and follow my blog for more DIY Inspiration !!
FAQ’s
Q: How do you make Chalk Couture paste permanent on wood?
To make Chalk Couture paste permanent on wood you would want to use a Spray Sealant over the design.
Q: Do I need to seal chalk paste?
No, you do not need to seal your chalk paste. I normally only seal my chalk paste if it’s for outdoor craft projects.
Related Articles
- DIY Wooden Earring Tutorial
- Learn what Chalk Couture Stencils are made of.
- Chalk Couture Gnome Stencil Home Decor For A Homemade Wooden Christmas Signs.
3 Comments