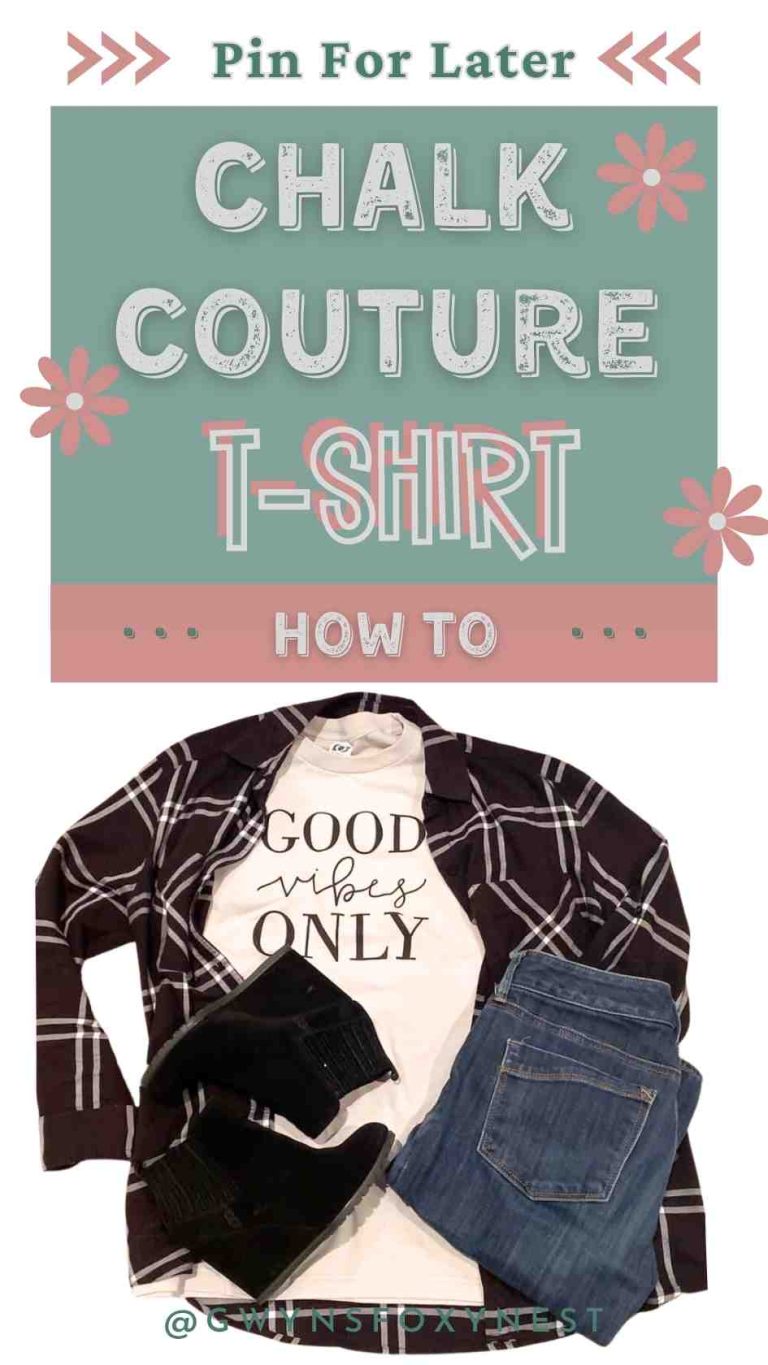
If you’ve ever admired trendy graphic tees and thought, “I wish I could make that myself,” you’re in the right place. Learning how to iron on a transfer on a shirt using Chalk Couture heat transfer designs is one of the easiest and most satisfying ways to create a DIY graphic tee at home. It’s beginner-friendly, budget-conscious, and honestly—kind of addictive.
Full Disclosure: This article may contain affiliate links. For more info, see the Disclaimer Policy
Chalk Couture heat transfers allow you to create crisp, professional-looking designs on fabric. You simply iron-on designs by pairing them with your favorite fabric surface. The result? Clean, bold prints that look like they came straight from a boutique.
Whether you’re dreaming of cute graphic tees, cool graphic tees, or personalized gifts, this beginner’s guide will walk you through everything step by step.
Why Choose Chalk Couture for Iron On Transfer Shirts DIY?
There are so many methods out there for making custom shirts DIY style—screen printing, sublimation, printable transfer paper—but Chalk Couture stands out for one simple reason: precision. The heat transfer paper in Chalk Couture transfer designs helps prevent bleeding and gives you sharp, detailed results.
If you’ve ever tried freehand painting a shirt, you know how tricky it can be. Lines smudge. Letters look uneven. It can feel frustrating. Chalk Couture removes that guesswork.
Plus, let’s be honest—there’s something incredibly satisfying about peeling off the paper heat transfer and revealing a flawless design underneath. It feels like magic every time.
Supplies You’ll Need to Get Started
Before you jump into creating your DIY graphic tee, gather your materials. Having everything ready makes the process smooth and stress-free.
Here’s what you’ll need:
- Plain cotton or cotton-blend shirt or polyester-blend textile surface
- Chalk Couture heat transfer design
- Scissors
- Iron or heat press
- Lint roller
Choosing the right shirt is key. Cotton works best because it handles heat well and bonds nicely. If you’re making cute DIY shirts for everyday wear, soft ring-spun cotton feels great and gives a professional finish.
Once your supplies are ready, you’re officially in creative mode.
Step-by-Step: How to Iron on a Transfer on a Shirt Using Chalk Couture Designs
Now let’s get into the fun part—actually making your shirt.
Step 1: Prep Your Shirt
Start by washing and drying your shirt without fabric softener. This removes any chemicals that could interfere with adhesion. Once dry, use a lint roller to remove dust or fibers. Even tiny particles can affect how clean your design looks.
Lay your shirt flat on a firm surface. Avoid using ironing boards if possible, as they absorb heat. A hard table covered with a towel works better.
Step 2: Position the Design
Place your Chalk Couture heat design onto the shirt, image side down.
Center it carefully. A good trick? Fold the shirt in half vertically, then lightly press a crease to mark the middle. Do the same with your design for perfect alignment.
Graphic tee inspo often features centered designs, but don’t be afraid to experiment with pocket prints or oversized graphics for cool graphic tees.
Step 3: Apply Heat
Set your iron to the cotton setting with no steam. Firm, even pressure is everything here. Press down for 10–15 seconds per section. Do not slide the iron around—lift and press instead.
If using a heat press, follow the manufacturer’s temperature guidelines, usually around 305°F for 10–15 seconds.
Step 4: Peel and Reveal
After pressing, slowly peel back the paper sheet. If the design has not transferred over to the shirt, place the sheet back down and press again for a few seconds.
That’s it. You’ve just learned how to make a graphic tee using Chalk Couture heat transfer designs.
Note: I used a normal iron. Chalk Couture recommends using a heat press to set the design properly.
Tips to Make Your DIY Tshirt Designs Last
To keep your design looking fresh:
- Wait 24 hours before washing
- Turn the shirt inside out
- Wash in cold water
- Avoid fabric softener
- Air dry when possible
Treat your design gently, and it will stay vibrant for years.
Final Thoughts on Creating Cute DIY Shirts
Learning how to iron on a transfer on a shirt using Chalk Couture heat transfer designs opens up a whole new world of creativity. What starts as a simple DIY graphic tee project can quickly turn into a passion for design. Whether you’re making cute graphic tees for yourself, trendy graphic tees for friends, or building a small custom shirts DIY business, the process is simple once you understand the steps.
It’s not just about making a shirt—it’s about expressing yourself. Every design tells a story. So grab that plain sweatshirt or tee, pick your favorite Chalk Couture heat transfer, and start creating something uniquely yours.
FAQs
1. Can I use Chalk Couture heat transfers directly as iron-on transfers?
Chalk Couture transfers have been created to be ironed-on to a fabric surface.
2. Do I need a heat press, or is an iron enough?
A household iron works perfectly for beginners. A heat press simply provides more consistent results.
3. What type of shirt works best for DIY graphic tees?
100% cotton or high-cotton blends or polyester-blend textile surfaces work best because they handle heat well and provide strong adhesion.
4. How long do Chalk Couture designs last on shirts?
With proper care, they can last for years.
5. Can I reuse Chalk Couture heat transfer designs?
No, the Chalk Couture heat transfers are designed for one-time use.
6. What is the difference between Chalk Couture transfer and Chalk Couture heat transfer?
Chalk Couture transfer is like a stencil design that can be reused multiple times with ink or chalk paste, and Chalk Couture heat transfer is more like an iron-on design that is used one time only.
Related Articles
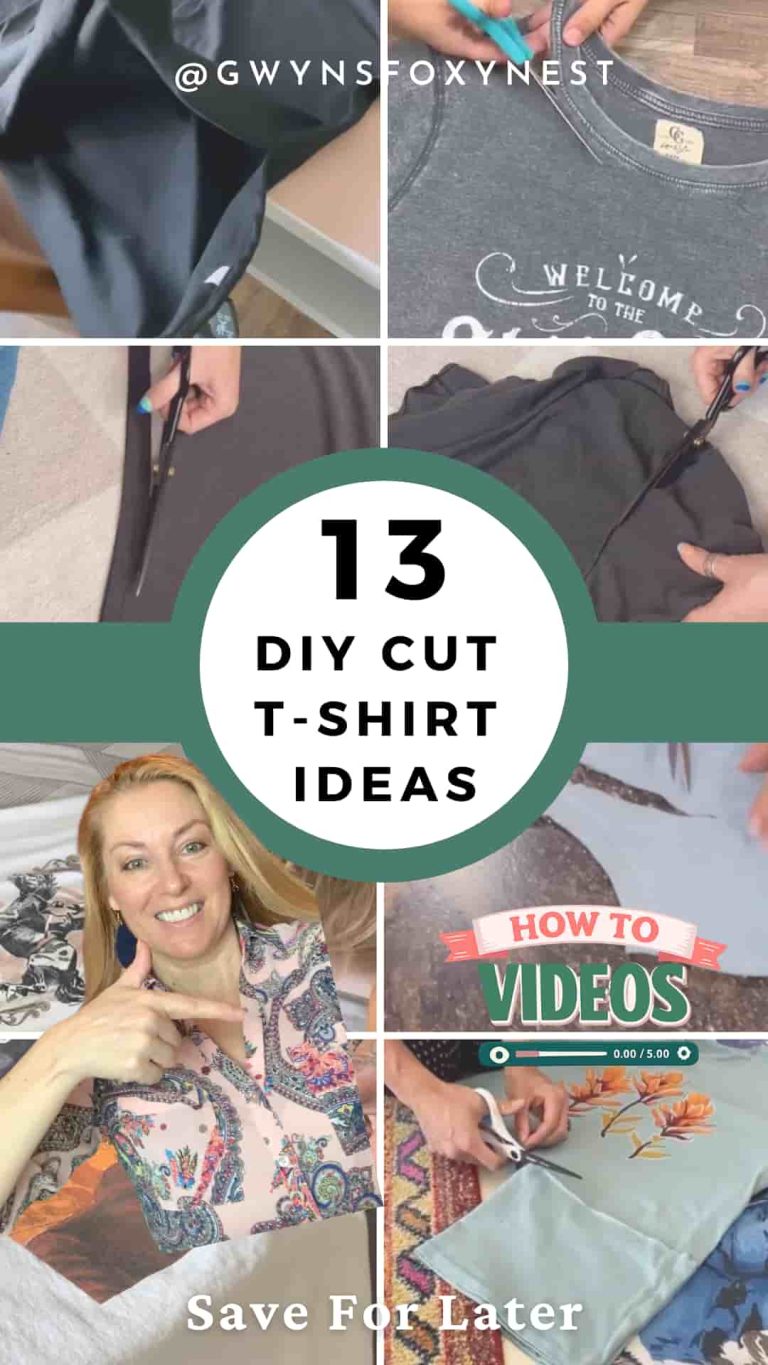
13 DIY Cut T-Shirt Ideas: Turn Old Tees into Trendy Fashion Statements
Learn how to transform old tees into stylish fashion pieces with this DIY cut T-shirt how-to videos. Easy step-by-step ideas, no-sew hacks, and creative designs to refresh your wardrobe on a budget with a quick DIY T-shirt upcycling project.
How To Use Chalk Couture Ink On Shirts
Learn how to use Chalk Couture ink on shirts to create a unique and personalized shirt design using Chalk Couture ink and T Shirt stencil kit at home. Click now to follow easy steps for best results with Chalk Couture inspirational quote stencils.
0