Are you ready for a furniture makeovers but feeling intimidate? For some reason, you normally want to start with your great grandma’s huge antique china cabinet. Am I right? As much as I love your ambition, I suggest dialing it back a notch or two and start with something small like a side table or bar stool. They can easily be found at garage sales or Facebook Marketplace fairly cheap and great to practice on. Make the furniture makeover easy and get something that doesn’t require repairs and clean. You can thank me later. 🙂 Let’s walk you through painting furniture with chalk paint and distressing chalk paint with lysol wipes.
Full Disclosure: This article may contain affiliate links. For more info, see the Disclaimer Policy
 Step 1: Furniture Selection
Benefits of Chalk Paint And Painting Furniture For A Lazy Person
Step 3: Prep The Furniture Surface
First, use the Lysol wipes to wipe down the furniture piece.
How to clean furniture with furniture polish buildup on wood furniture? If the furniture needs more cleaning due to build up of furniture polish. I would recommend using a TSP heavy duty cleaner to clean it up. Just follow the directions on the box to create the cleaner and go over the piece. Easy right?
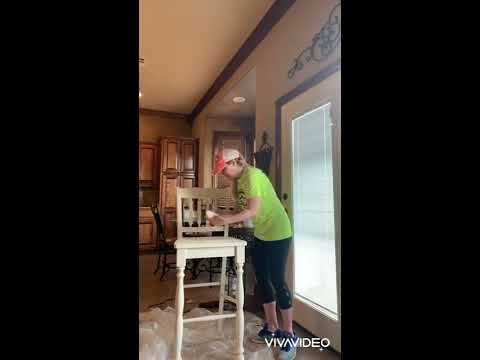
See the video below starting @ 1:03 minutes to hear me talk more about prepping your surface.
Step 4: How To Paint Furniture With Chalk Paint (The Fun Part)
A basic paint technique will require the least effort, and you simply paint the piece with two coats of paint. This can be the same color or different color depending on the look you’re trying to obtain. You will paint the first coat and allow it to dry then add the second coat of paint.
I painted one coat of Annie Sloan Florence chalk paint. My second color was Annie Sloan pure white chalk paint.
I let each coat dry before the next step.
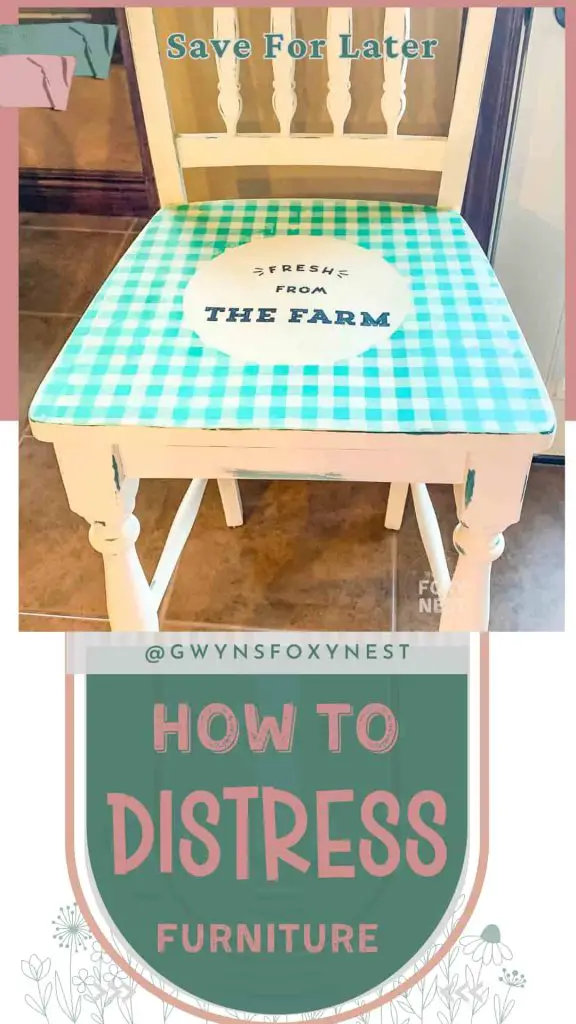
Step 2: How To Distress Furniture With Chalk Paint And Lysol Wipes
Once the Annie Sloan pure white chalk paint is dry. I’ll take a lysol whip and simply wipe away the chalk paint in the areas the underneath color should show through.
Tip: To make it look authentic remove the top layer of chalk paint in the area where it would naturally be worn off. For example, where the feet would rest on the stool.
To use a lysol wipe to distress chalk paint will need to be done before you wax for furniture restoration.
If you decide to distress furniture after you apply the furniture wax you will need to use sandpaper to distress furniture, clean the area, and apply wax.
Step 5: How To Wax Furniture After Chalk Painting
Wax on … Wax off.. Do you know what movie I’m talking about? hahahh…. I feel like such a dork but I think about it every time I cover the furniture in wax. LOL…
To apply the Annie Sloan clear wax take a wax brush or a rag cloth to apply the wax to the dried chalk paint. Just dip brush / cloth into the hard wax and ‘smear’ it on the finish. Then take a clean cloth and rub it in. At first, you will notice the wax seems a bit sticky. You want to rub the wax in until it glides smoothly. You will feel the difference. You want to repeat this process for the whole piece. Applying the clear wax will not change the color of your piece. It will just protect the finish and your hard work.
View the video below at 19:04 for more info on the how to apply Annie Sloan clear wax technique.
Step 6: How To Clean Up Chalk Paint
Don’t overthink this one guys! Easy peasy !! With chalk paint simply use dish soap and water to clean your brushes and set them out to air dry.
Step 7: Enjoy
Now enjoy your hard work!! You deserve it!! I would love for you to post a picture of the piece on my Facebook page.. Just pick a recent post and show it off!!
Optional: Create a fun design statement piece using Chalk Couture. Here’s a Chalk Couture Furniture makeover with a how-to online tutorial.
How To Paint A Wooden Bar Stool YouTube Video
Supplies
- Furniture
- Ground protection ( something to keep the paint from getting on your floor)
- Paint
- Clear Wax
- Paint Brush
- Wax Brush or rag cloth
- Lysol wipes
Related Articles
- Painting furniture boho style before and after
- Green chalk painted furniture
- Olive green chalk paint furniture
- Vintage desk makeover
- Vintage side table makeover
Please note that paint colors will vary depending on screen settings. We cannot guarantee that paint colours will exactly match the colour you see on screen. I would highly recommend testing this method on a scrape wood first.
I am in no way affiliated with Annie Sloan Chalk Paint and am not compensated for this project or post. I simply like the product and wanted to share how I use it on my furniture makeovers. Contact an Annie Sloan stockist for the exact supplies and techniques needed for your project. Results may vary from piece to piece depending on many factors. I always recommend testing it on a scrap piece of wood before starting the full piece.
One Comment