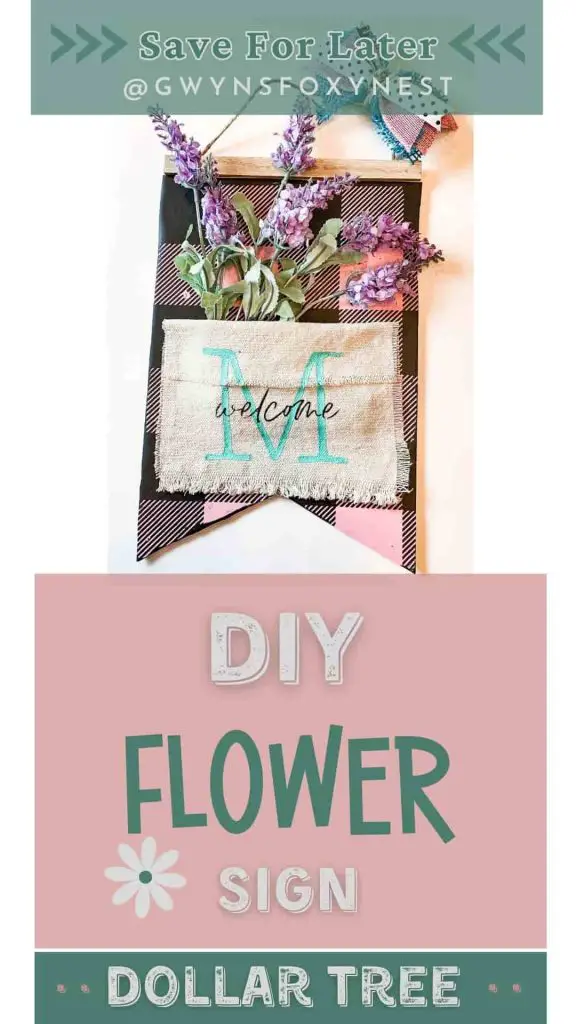
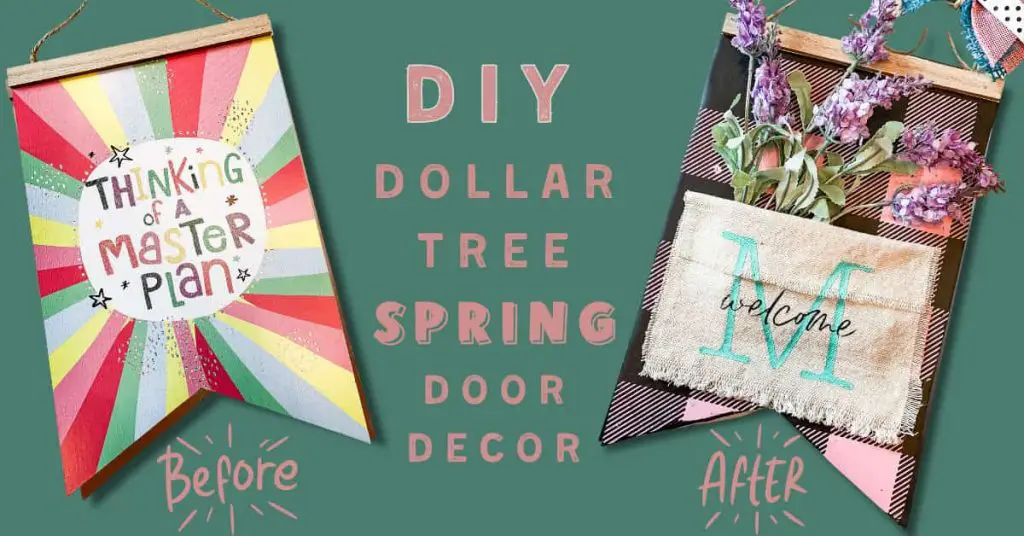
Welcome to our creative DIY guide on making a charming Dollar Tree DIY welcome sign with flowers for your front door using a letter M and buffalo plaid stencil. If you’re looking to add a personalized touch to your home’s entrance without breaking the bank, you’re in the right place.
Let’s take you through each step of the process, providing you with valuable insights and tips to create a beautiful and welcoming entrance to your home.
Full Disclosure: This article may contain affiliate links. For more info, see the Disclaimer Policy

Materials You’ll Need Dollar Tree DIY Home Decor
Before we dive into the details, let’s gather all the materials required for this fun Chalk Couture finished project:
- Dollar Tree
- Dollar Tree sign
- Artificial flowers
- Party tablecloth to protect your table at home. (optional)
- Bow Making (Optional – Unless you’re Southern. LOL )
- 3 different ribbons
- Jute twine
- Scissors
- Chalk Couture
- Buffalo plaid stencil
- Welcome and Letter M stencil – Club Couture Feb 2020 monthly transfer
- Chalk Paste
- Squeegee – You may want to purchase 3 or be sure to wipe off after each color.
- Fuzzing cloth
- Amazon
- Contact paper ( optional you can just paint the sign black)
- Drop Cloth
- Hot glue gun and glue gun sticks
You may also enjoy viewing the best cordless glue gun for crafts that our craft community loves.
Now that we have everything ready, let’s get started!
Step 1: Prepare Your Craft Workspace
Set up a clean and well-ventilated workspace, preferably outdoors, to avoid any mess inside your home. Lay down some newspapers or a Dollar Tree party tablecloth to protect your work surface.
Step 2: Prepare Your Dollar Tree Craft Sign
Option 1 – Adhere the black contact paper to the Dollar Tree sign and cut away any excess.
Option 2 – Begin by lightly sanding the welcome sign to smooth out any rough edges or imperfections. This step ensures that your paint adheres evenly to the surface. After sanding, wipe away any dust with a clean cloth.
Now, choose your desired paint color and start applying it to the sign. You can be as creative as you like with the color scheme. Allow the paint to dry completely before proceeding.
Step 3: Create the Buffalo Plaid Stencil
Adhere the buffalo plaid stencil to the Dollar Tree sign. Rub your hands over it to secure it in place and to remove air bubbles. Take a squeegee and add a small amount of chalk paste pink all over the design. Remove any excess and put it back in the jar. Carefully, remove the Chalk Couture buffalo plaid transfer / stencil before the chalk paste dries.
Let the chalk paste dry!
Step 4: Create the letter M and Welcome Stencil
Cut out a piece of drop cloth a little smaller than the Dollar Tree sign. Adhere the letter ‘M’ stencil to the drop cloth. Rub your hands over it to secure it in place and remove air bubbles. Take a squeegee and add a small amount of chalk paste teal all over the design. Remove any excess and put it back in the jar. Carefully, remove the Chalk Couture letter M transfer / stencil before the chalk paste dries.
Let the chalk paste dry!
Tip: To make the drop cloth look more rustic tear the size you want and remove the threads from the side. To do this measure out the size you want. Cut a small slit into fabric and take your hands and tear the rest of the way.
Adhere the welcome stencil over the letter ‘M’. Rub your hands over it to secure it in place and remove air bubbles. Take a squeegee and add a small amount of chalk paste black all over the design. Remove any excess and put it back in the jar. Carefully, remove the Chalk Couture welcome transfer / stencil before the chalk paste dries.
Let the chalk paste dry! ( watch video below for a detailed how to)
Note: I am using chalk paste on fabric because I will not wash this fabric. If you want to wash a fabric you will need to use the Chalk Couture ink for it to be permanent on the project.
Dollar Tree DIY Welcome Sign Kit YouTube Video (Short Version)
Step 5: Add Flower Accents
Now it’s time to add some charming flower accents to your welcome sign. This is how to attach flowers to welcome sign. Using your hot glue gun, attach three sides of the drop cloth to the dollar tree sign and put the artificial flowers into the sign ‘pocket’.
You can choose flowers that match your home’s decor or go for a seasonal look with vibrant blooms.

Step 6: Final Touches and Placement
Inspect your DIY Dollar Tree welcome sign for any touch-ups or additional decorations. You can add small embellishments like a bow if you would like.
Finally, hang your masterpiece on your front door to warmly welcome all your guests.
Chalk Couture Projects Dollar Tree Signs YouTube Video (long Version)
You may also enjoy 11 Dollar Tree bunting sign DIY ideas!
Creating a Dollar Tree DIY welcome sign with flowers for your front door is a delightful and budget-friendly way to add a personal touch to your home’s entrance. With just a few materials and some creativity, you can craft a charming and inviting welcome sign that reflects your style and personality. So, why wait? Get started on this fun project today and greet your guests with a warm and cheerful welcome every time they visit your home. Happy chalking!
Shop Chalk Couture Stencil Specials

2 Comments