Have you ever wanted to repurpose an old mirror? Why not turn it into a chalkboard? In this step-by-step guide, we’ll show you how to make a mirror into a chalkboard without paint with just a few materials. Get ready to unleash your creativity and learn how to make a chalkboard without chalkboard paint to give that old mirror a new lease on life!
Full Disclosure: This article may contain affiliate links. For more info, see the Disclaimer Policy
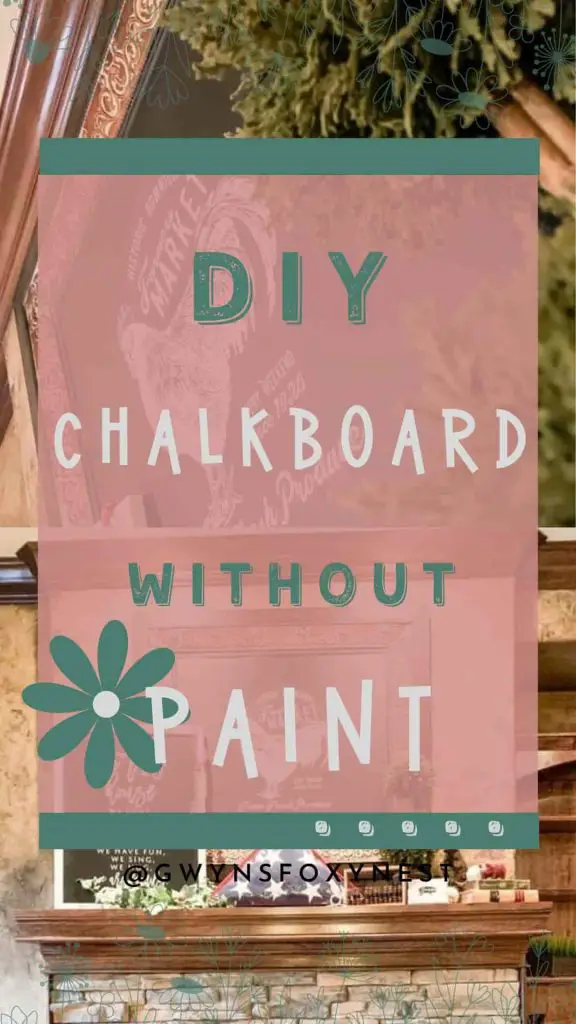
Step-By-Step Guide On How To Make A Mirror Into A Chalkboard Without Paint
Step 1: Gather the Materials For DIY Chalkboard Without Chalkboard Paint
Before you begin, make sure you have the following materials on hand:
- Thrift Store
- An old mirror
- Amazon
- Papered Chef
- Food Scraper, Credit Card, or Squeegee
- Chalk Couture
- Chalk Couture Large Chicken Stencil ( Link to current Chicken Stencil available)
- Chalk Couture Paste
- Squeegee
- Fuzzing Cloth
Step 2: Measure and Cut the Contact Paper
Measure the dimensions of your mirror. Use a pencil to mark the measurements on the back of the contact paper. Carefully cut along the marked lines to create the desired size and shape for your mirror.
Step 3: Prepare the Mirror Surface For Contact Paper
Clean the mirror thoroughly with a glass cleaner to remove any dirt or smudges. Ensure that the mirror is completely dry before proceeding to the next step. This will help the contact paper adhere smoothly.
Note: If you plan to paint the frame of the mirror I would do it now.
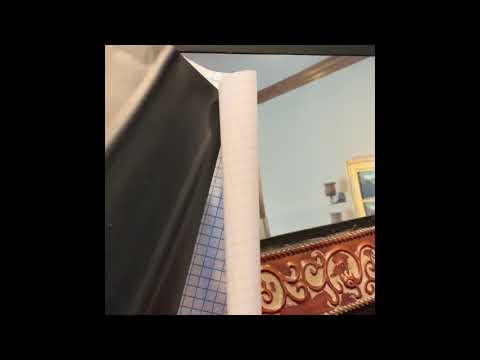
Step 4: Apply the Contact Paper To The DIY How To Make A Chalkboard Without Chalkboard Paint
Peel a small portion of the backing from the contact paper and align it with one edge of the mirror. Slowly and gradually peel off the backing while smoothing the contact paper onto the mirror. Use a squeegee or credit card to remove any air bubbles and ensure a smooth application. Continue this process, peeling off the backing gradually and smoothing the contact paper as you go, until the entire mirror is covered.
Step 5: Trim Excess Contact Paper Chalkboard
Once the contact paper is applied, use scissors to carefully trim off any excess paper along the edges of the mirror. Take your time to achieve clean and precise cuts.
Step 6: Finishing Touches Of Mirror Turned Chalkboard
To ensure a long-lasting bond, go over the applied contact paper with a squeegee or credit card, applying pressure to ensure it adheres well. If there are any remaining air bubbles, gently smooth them out with the squeegee.
TIP: For stubborn bubbles, you can use a hairdryer on low heat to help soften the contact paper and smooth out the surface.
*** Watch Video For Better Understanding – Start about 2 minute mark ***
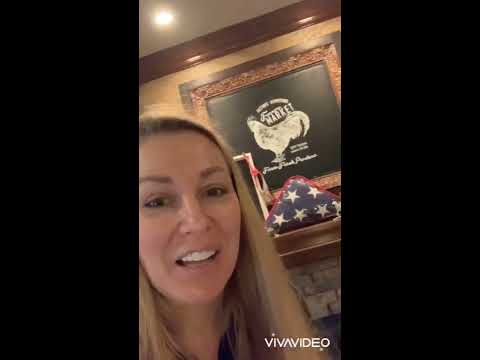
Step 7: Apply the Chalk Couture Rooster Stencil
Position the Chalk Couture Rooster Stencil design on the mirror. Dip the squeegee into the chalk paste and apply it to the rooster stencil design. Remove the stencil while the chalk paste is still wet.
*** Watch Video For Better Understanding ***
Don’t forget to share pictures of your creation with me. Come on over to my Facebook page and share it with me.
Make sure to pin to PINTEREST to find it later!! and follow my blog!
FAQs:
Q1: Can I use any type of mirror for this project?
A1: Yes, you can use any old mirror, regardless of its shape or size.
Q2: Can I use a different stencil design on the contact paper?
A2: Yes, simply remove the chalkboard design with water and apply another Chalk Couture stencil to the chalkboard. This makes it super easy to change out your home decor for the seasons and holidays.
Q3: How do I clean the chalkboard surface?
A3: To remove the chalk paste from the chalkboard simply spray the chalk paste with a small amount of water and wipe it off with a clean paper towel.