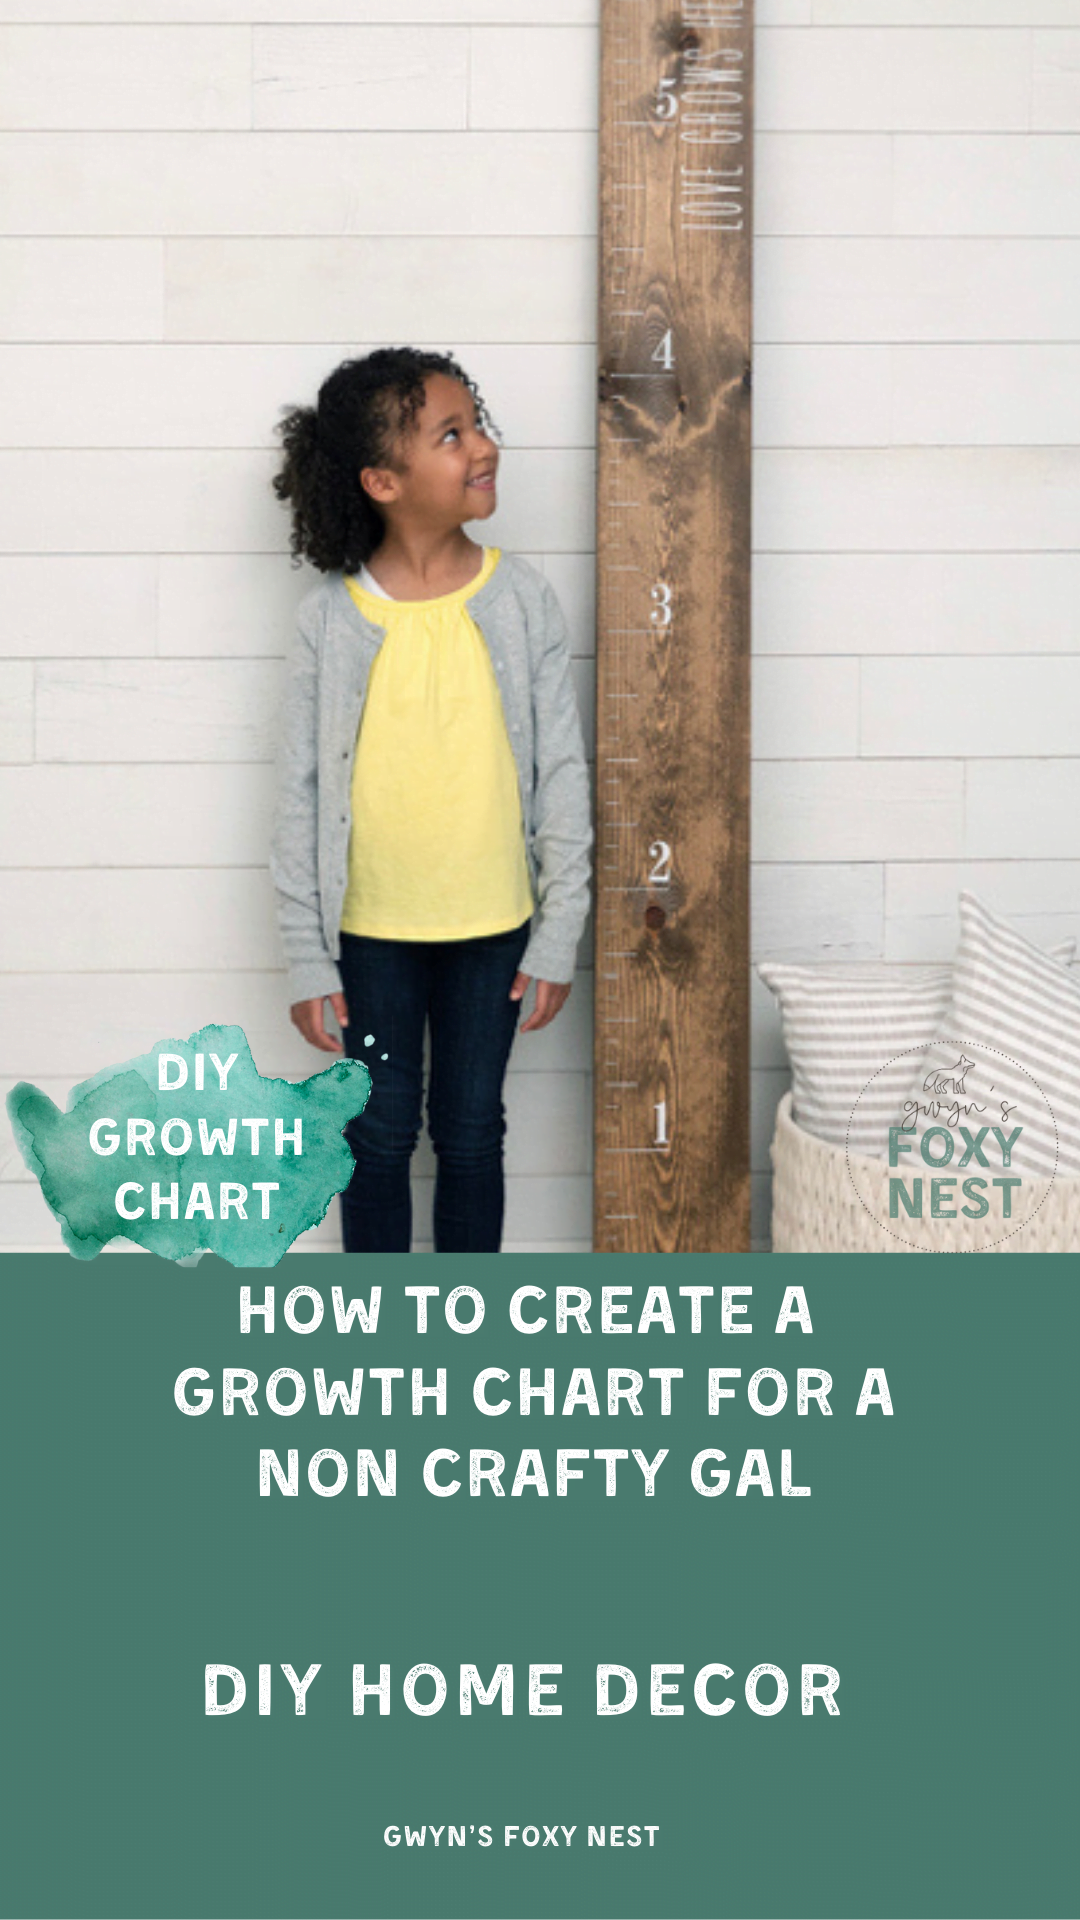
 Who remembers having a “growth chart” on one of the doors casing in your home? It was a sad day when moving day came and the “growth” memories behind. Am I right ? This project is a great way to create a growth chart that can move with you and make memories for generations. In this blog post you will find a quick video, helpful tips and step-by-step instructions.
Full Disclosure: This article may contain affiliate links. For more info, see the Disclaimer Policy
Supply List
- Untreated pine wood 8ft from your local hardware store. Note: Needs to be at least 7.25” X 6’.5” for the growth chart. That’s the size used in the video.
- Paint and / or stain
- Wax
- Transfer / stencil: Growth Chart
- Chalkology™ Paste: Bright White
- Fuzzing Cloth
- Squeegee
- Sprayer Sealer
- Sandpaper if you want the distressed look.
- Cloth / old T-shirt to add the wax
Here are a few helpful tips to keep in mind to create the perfect project.
- You can use any type of wood you would like. I use untreated pine.
- Make sure to prep the surface with surface wax to protect your surface and the silk screen transfer.
- Click here for more information on how to prep a wooden surface for a Chalk Couture design.
- The smoother the surface the clearer the font will come out.
- If you use a rough wood surface the font will look very rustic.
- Paint / Stain the board with your favorite color.
- Keep the silk screen transfer together as much as possible. Cut it along the cut lines. For this design you should have four strips.
- The silk screen transfer can be used on any surface (i.e wood, glass, metal, chalkboards, etc..) and is reusable.
- Make sure to use the fuzzing cloth to fuzz the transfer / stencils this helps the transfers / stencils come off the board easier.
Here are the steps needed to complete the project.
- Purchase supplies needed.
- Paint and/or stain the board and let it dry completely.
- Optional: If you want the distressed look take sandpaper and sand the board along the edges to remove some of the paint. Clean off the board before the next step.
- Wax the board with a cloth / old T-shirt. Dip the cloth into the wax and rub on the board until it no longer feels sticky. Do this for the whole board on the front side. This step helps the transfers / stencils come off the board easier.
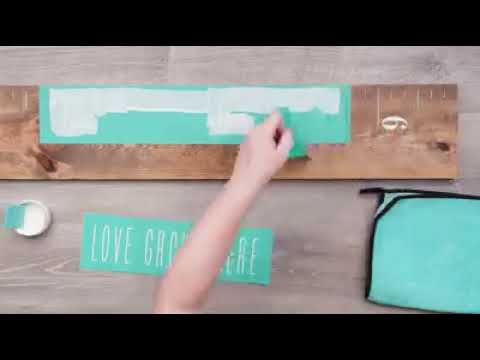
- Cut the Growth Chart Transfer / stencil into stripes like the above video shows.
- Fuzz each strip with the fuzzing cloth before adhering it to the board. That’s what the purpose of the teal cloth used in the video above.
- Place the “number” strips on the far side on the board. Place them on the board end to end so the measurements will be correct. As shown in the video.
- Take the squeegee and apply the white chalk paste one strip at a time. Remove any excess paste and place back in the jar. Remove the transfer / stencil after each strip has been completed. Remove it slowly so if you miss anything you can simply lay it back down and redo the paste.
- Once each strip has been removed let the design dry.
- Now add the “Love Grows Here” design to the other side in the placement of your choice.
- Add the chalk paste using the squeegee and let it dry.
- Spray the board with a Sprayer Sealer so the design will stay on.
- Take transfer / stencils to the sink and wash off the paste. Lay the transfer with the sticky side up to let dry. They are reusable up to a dozen times or more if taken care of properly.
- Once the transfer / stencil is completely dry, place back on the white backer sheet it came on. Make sure the sticky side and shine side are stuck together.
- TA-DA !! Get the kiddos and start taking measurements !!
Don’t forget to share pictures of your creation with me. Come on over to my Facebook page and share it with me.
Make sure to pin to PINTEREST!! and follow my blog !!
All Chalk Couture supplies can be purchased via my online store and will be delivered straight to your door in US and Canada.
Some links may be referral links.
One Comment