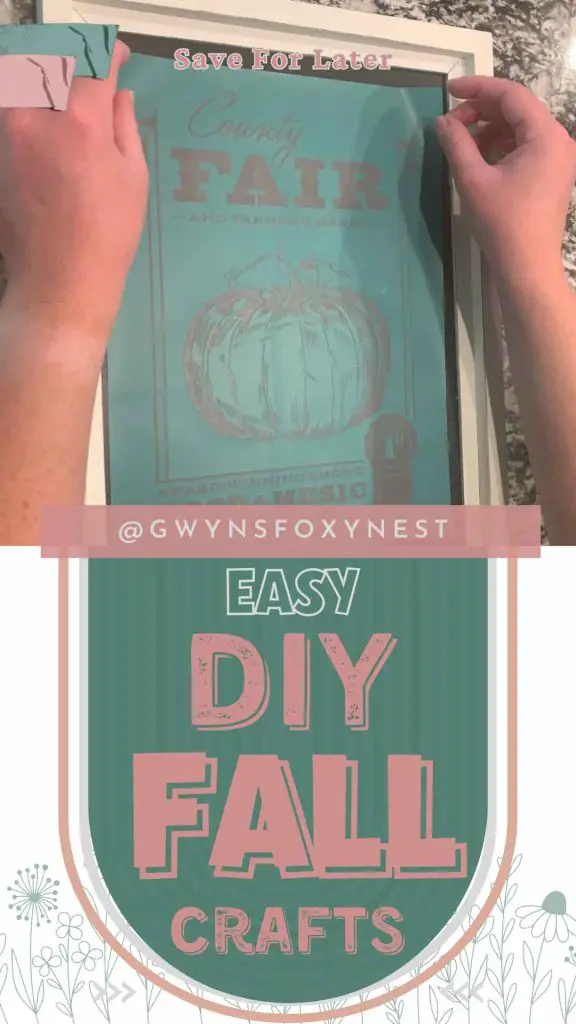
As the crisp air of autumn settles in and leaves begin to turn vibrant shades of red, orange, and gold, it’s the perfect time to embrace the cozy atmosphere of the season by decorating your home with charming fall crafts. One delightful way to infuse your living space with the spirit of fall is by using a pumpkin chalkboard art kit for adults for a touch of personalized creativity. Let’s explore these easy DIY fall crafts for the home using a pumpkin chalkboard art kits, helping you transform your home into a warm and inviting haven for the season for the perfect DIY Fall home decor projects for beginners.
Full Disclosure: This article may contain affiliate links. For more info, see the Disclaimer Policy

Getting Started with Pumpkin Chalkboard Crafts
Before you embark on an easy DIY fall crafts journey, gathering all the necessary supplies is essential. Here’s what you’ll need:
- Chalk Couture
- Chalk Couture County Fair stencil ( I used Couture Club August 2023 transfer of the month)
- Chalkboard, wood sign or pallet sign?- Make sure the size is at least 8″ X 11″
- Chalk Paste Bright White
- Squeegee
Shop Chalk Couture Stencil Specials
Step-by-Step Guide How To Use Chalk Couture Stencils for DIY Pumpkin Wall Decor Crafts.
Prepare Your Pumpkin Chalkboard Art Kits For Adults:
Ensure that your chosen surface is clean and free from dust and debris. This will help the transfers adhere correctly. Make sure it’s dry!!
TIP: I was reusing a Chalk Couture chalkboard. The chalk paste was hard to remove from the chalkboard. I wet down the chalk paste on the chalkboard and let it set for about 30 seconds to make it easier to remove. You can also use the Chalk Couture scraper to easily remove the chalk paste.
First Design Your DIY Pumpkin Wall Decor Crafts
First, decide how you will use the reusable adhesive pumpkin stencils to make the DIY pumpkin wall decor craft.
- Will you use one or multiple chalk paste colors?
- Will you use a chalkboard ,wood sign or pallet sign?
- Will you be adding a bow, etc?
Apply and Remove the Pumpkin Stencil For Crafts Design:
Apply the reusable adhesive fall stencils to a clean and dry surface. Use the squeegee to apply the Chalk Couture chalk paste over the pumpkin stencil. Ensure that all the openings in the design are filled with paste and remove any excess. Gently lift the pumpkin transfer from the surface, revealing your fall design. Be careful not to smudge the paste as you remove the pumpkin transfer.
Let It Dry!
Optional: DIY Autumn Home Decor Fall Crafts
Add Finishing Touches: If desired, you can add additional embellishments, colors, or details using Chalkology paste, ribbon, and paper to enhance the overall look of your design.
Clean Chalk Couture Fall Stencil For Crafts
To clean your Chalk Couture fall stencil and supplies wash it with lukewarm water. Lay the autumn stencil sticky side up and let dry. Once dry attach it back to the white backer sheet to reuse again.
Pumpkin Arts And Crafts Ideas Youtube Online Tutorial
Incorporating a pumpkin chalkboard art kit for adults into your DIY fall decor brings a delightful blend of creativity and functionality to your home. As you embark on your easy diy fall crafts for the home journey, let your imagination run wild and infuse your home with the cozy warmth of the season. Get started today and enjoy the process of turning an easy pumpkin chalkboard ideas into a cherished autumn masterpiece.
Happy chalking!

One Comment