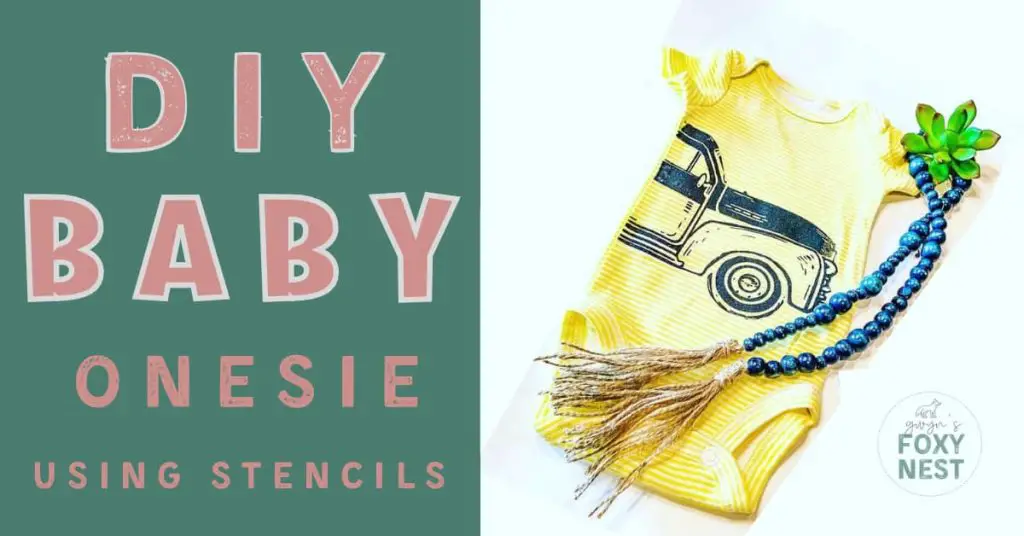
If you’ve been looking for a fun and unique way to express your creativity, the Chalk Couture Vintage Truck with Ink is the perfect tool to add a touch of vintage charm to your projects. This versatile product allows you to create stunning designs on fabric using Chalk Couture ink. Whether you’re a crafting enthusiast or just starting, this guide will walk you through the exciting process of how to use Chalk Couture Vintage Truck with Ink for a DIY baby onesie using stencils.
Full Disclosure: This article may contain affiliate links. For more info, see the Disclaimer Policy
Materials Needed Chalk Couture Vintage Truck:
- Chalk Couture
- Baby Onesie
- Amazon
Do you have a passion for crafting and a love for all things vintage? The Chalk Couture Vintage Truck transfer is about to become your new favorite creative outlet. This unique tool allows you to transform ordinary surfaces into works of art that boast a charming, antique truck design. Let’s take you through the steps to master this art form, from unboxing your kit to creating beautifully inked designs.
Getting to Know the Chalk Couture Vintage Truck
Before diving into the creative process, let’s familiarize ourselves with the Chalk Couture Vintage Truck kit. This kit includes a carefully pre-designed vintage truck chalk transfer, a variety of seasonal Chalk Couture truck add-ons. The transfer features intricate details that will give your projects a professional touch, even if you’re a beginner.
Unboxing and Setup
Unboxing your Chalk Couture Vintage Truck kit is an exciting moment! Start by laying out all the contents and ensuring you have everything you need. The kit typically includes the truck transfer, truck add ons transfer, truck wood cutouts chalk paste, a squeegee, and step-by-step instructions. For this project, you’ll also need chalk couture ink , Chalk Couture ink mat and a clothing piece of your choice. Once you’re set, find a well-lit and comfortable crafting space where you can bring your designs to life.
Selecting the Right Surface For The Perfect DIY Baby Onesie Using Stencils
One of the great features of the Chalk Couture Vintage Truck transfer is its versatility. You can use it on a variety of surfaces, such as wood, glass, fabric, and more. You can use Chalk Couture paste OR Chalk Couture ink depending on which surface you choose. For beginners, a smooth and flat surface is recommended to make the application process smoother. When using the Chalk Couture vintage truck on fabric you will choose Chalk Couture ink.
Are you getting ready for a fall craft party? You may also enjoy 60+ Fall snacks for craft night.
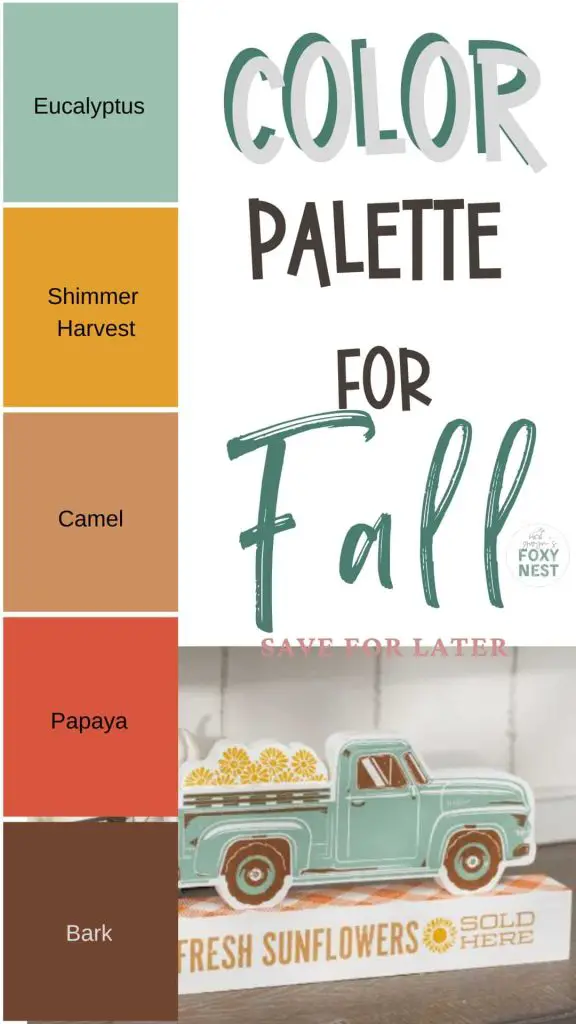
Choosing Your Chalk Ink Colors
The Chalk Couture ink colors you choose play a significant role in the overall aesthetics of your design. Whether you’re aiming for a rustic look or a vibrant and colorful creation, the choice is yours. Experiment with different color combinations to find what resonates with your style. Remember, there are no rules in creativity!
Applying the Chalk Couture Ink
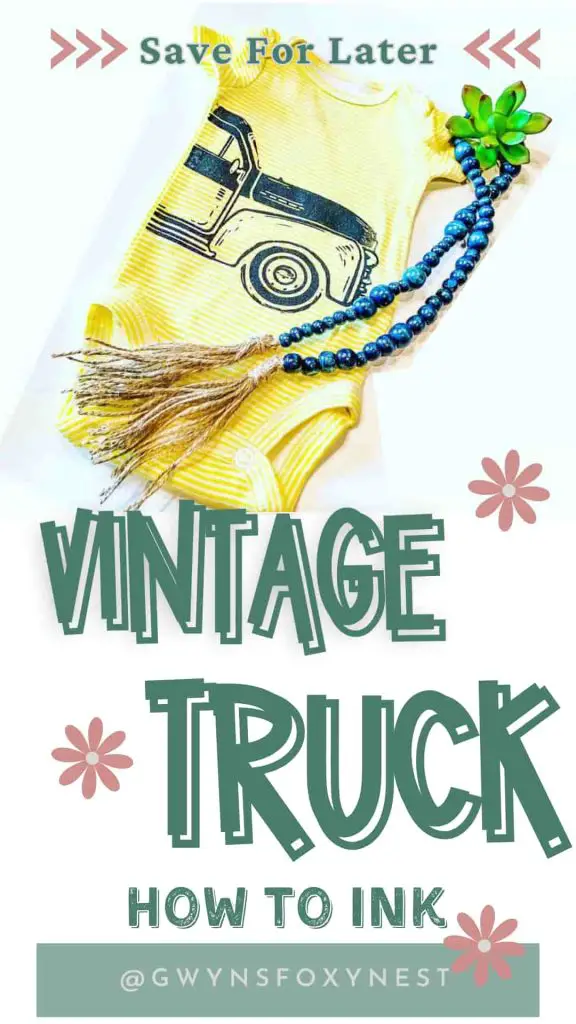
Now comes the fun part—applying the Chalk Couture ink to the surface using the Chalk Couture Truck transfer. Place the first layer of the transfer on the chosen area and use the squeegee to apply the Chalk Couture ink evenly across the design area of the stencil. Peel off the transfer slowly to reveal your stunning vintage truck design.
Let Dry!
Repeat the same steps for the second layer of the transfer. Line up the second layer using the wheels as your guide. (View youtube video below to see how I line up the 2nd transfer.)
Adding Extra Details Chalk Couture Vintage Truck Add Ons
If you want to take your design to the next level, consider adding extra details using complementary Chalk Couture vintage truck add ons stencils.
Caring for Your Chalk Couture Design
Once you’ve heat set your masterpiece, you can wash it according to the care instructions of the garment.
After the ink has dried for 24 hours, remove the ink mat and use one of the two options to heat set the vintage truck design.
There are two options to heat set the Chalk Couture ink on the baby onesie.
- Option 1: Use a handheld clothing iron and parchment paper to make the design permanent. Place the parchment paper over the design and iron over the parchment paper for four minutes. Make sure to move the iron so it doesn’t burn the fabric. Repeat the steps on the back.
- Option 2: Use the Cricut heat press and parchment paper. Set the heat press to 305 degrees, place the parchment paper over the design, and place the heat press on the parchment paper over the design for 30 sec. Repeat the steps for the back.
Remove the parchment paper and allow the onesie to cool completely.
Now, the design is permanently on the baby onesie and can be washed according to garment care.
How To Use Chalk Couture Vintage Truck with Ink Youtube Online Tutorial
The Chalk Couture Vintage Truck with Ink is a fantastic tool for anyone looking to add a touch of vintage charm to their crafting projects. With its user-friendly process and endless creative opportunities, you’ll find yourself immersed in the joy of designing and decorating with chalk ink. Embrace the imperfections, experiment with colors, and let your creativity flow freely.
With the Chalk Couture Vintage Truck with Ink, you’re not just creating art; you’re crafting memories. Let your imagination run wild and enjoy the process of transforming everyday items into extraordinary pieces of art. Happy chalking!