Who loves a good DIY Shrinky Dink project? I’m going to share with you one of my favorite childhood crafting memories so you can make your own shrinky dink at home. The melting of the plastic always mesmerized me. However, this project has a little twist in the craft supply list. Let’s explore creating shrinky dinks from plastic food containers.
We’ll be using plastic leftover To-Go containers to create DIY shrinky dinks. Do you have a few of those lying around?
….I DO !! My friends call me the “leftover Queen”!!
Full Disclosure: This article may contain affiliate links. For more info, see the Disclaimer Policy
What Are Shrinky Dinks?
Wondering what Shrinky Dinks are? Let’s get you caught up with some craft fun and complete your childhood, shall we? LOL
Shrinky Dinks were a big deal in the ’80s but were invited in 1973. Kits came with pre-printed coloring sheets of your favorite characters and a set of colored markers.
You would decorate and personalize them, cut them out, and have your parents pop them into the oven and watch them magically shrink down to these tiny thick plastic charms. (hence the name Shrinky Dinks)
How much fun is that??
Okay, so when I heard I could create a shrinky dink out of my plastic leftover containers. I must admit I was more excited than an adult should be. It brought back so many of my childhood memories like Mork and Mindy and their wild outfits, Care Bears, Rainbow bright, and just a simple coloring book. You know the simple times when your mom told you to go outside to play? You didn’t want to come home until dark and she had no idea where you had been all day! Ah.. truly living your best life !!
Okay, back to this post.. hahah .. Let’s get started making your own shrinky dinks to share a special moment with your kids.
Recommended Age For Making Shrinky Dinks
NOTE: Recommended for children 5 years of age and older. Adult supervision is required during the baking process.
What plastic can be used for Shrinky dinks?
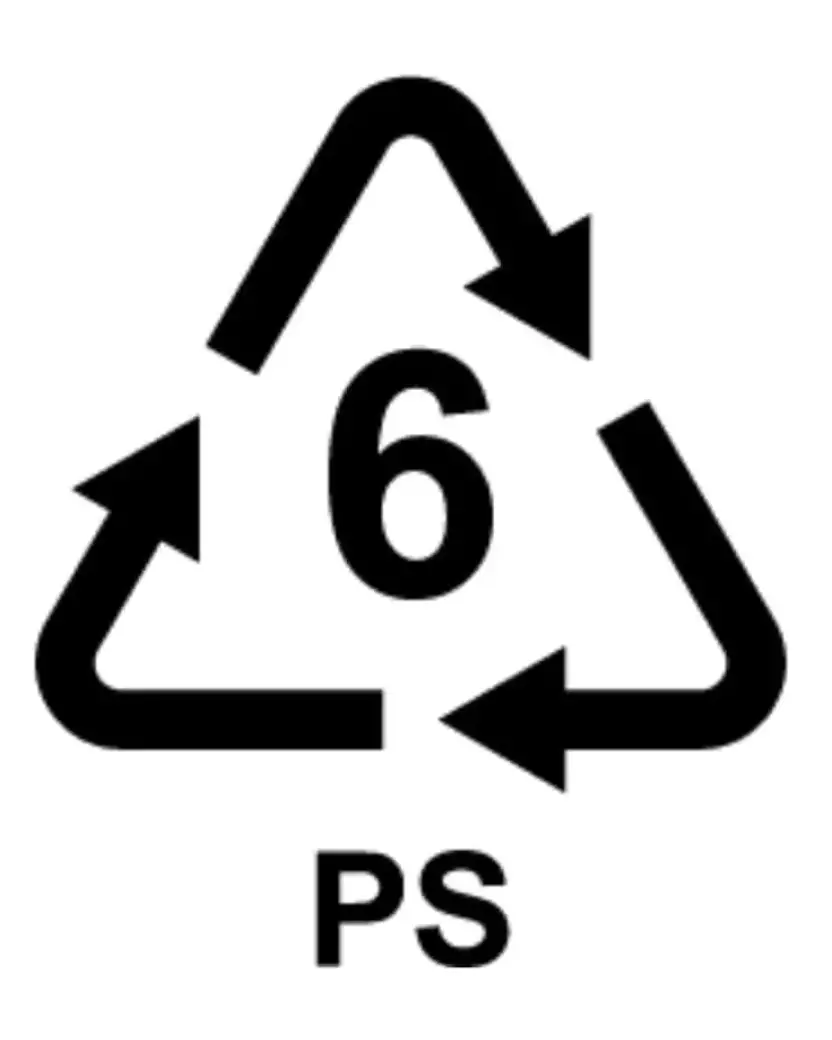 Okay, Let’s take a moment and make sure we get the right plastic for the project. Shrinky Dinks can be made from #6 plastic. Which is used in plastic To Go containers for salads or lids for pans made out of aluminum. This is the type of plastic we’ll use for this project.
#6 plastic is actually quite difficult to recycle, so reusing it for a project like this is a great way to keep it out of landfills!
DIY Shrinky Dink Supplies Needed:
To make DIY Shrinky Dinks, you’ll need:
- A flat piece of #6 plastic
- Scissors
- A sheet of aluminum foil or sheet pan ( something to set the plastic on to protect your oven).
- Parchment paper so the plastic doesn’t stick to the foil or sheet pan.
- Hole puncher (optional)
- #6 Cleaned Plastic To-Go containers.
- Chalk Couture
- Silk Screen Transfer / Stencil design. I used the Chalk Couture Club Nov 2022 design.
- Black Ink, Fuzzing Cloth and Squeegee.
- String
- Bake shrinky dinks in preheated 350 degrees oven.
Things to Consider When Making Shrinky Dinks from Plastic Food Containters
The plastic will shrink up to about 1/3 the original size of the designs.
If you plan to make it into a charm, it’s a good idea to use a hole puncher to put a hole in the plastic before you shrink it.
Handmade Shrinky Dinks from Plastic Food Containters Instructions
- First and most important!! Throw all the rules out the window and just have fun with it. You’ll have so much fun watching them come to life so just enjoy the process!!
- Next, start the project by preheating the oven to 350 degrees.
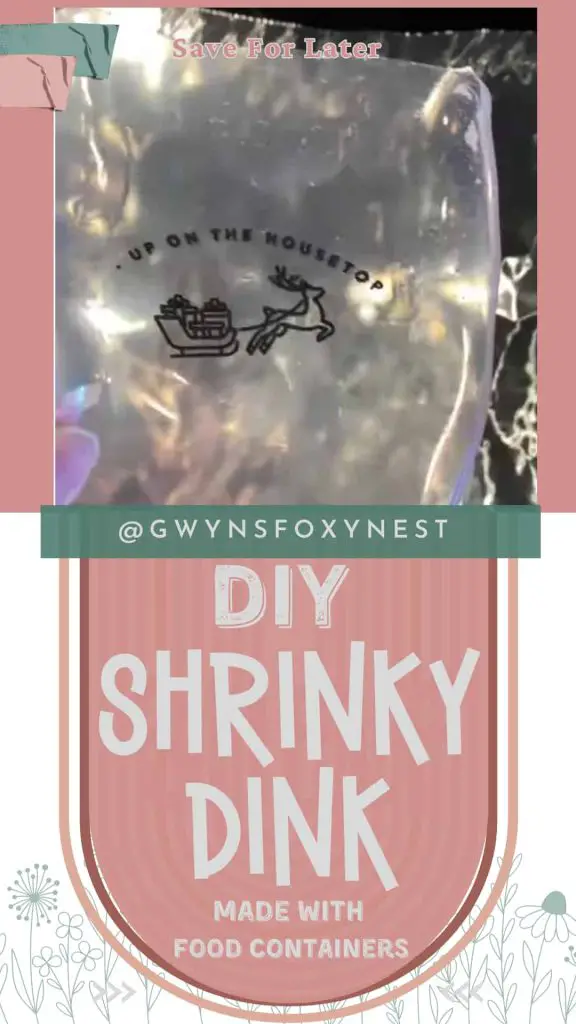
- Use the Chalk Couture design and Ink to create your design as shown in the video. Make sure to fuzzy the design with our fuzzing cloth or towel so it doesn’t stick to the plastic.
- Cut your design out of plastic.
- Now you’ll want to arrange your designs on an aluminum foil/sheet pan, with a sheet of parchment paper underneath them. This will keep your DIY shrinky dinks from sticking to your pan and ruining it.
- Parents: Now you have the design completed and set the temperature for shrinky dinks to a 350 degrees oven, place your sheet pan on the middle rack.
- This is where the magic happens !! DO NOT walk away from your oven, you’ll miss the fun!! It won’t take long for them to shrink up, only about 2 to 3 minutes.
- Parents: Once they have shrunk up you can remove them from the oven. Be careful, they’ll be hot. You’ll want to let it cool for a few minutes before trying to handle them.
DIY Shrinky Dinks Lessons Learned
Here are a few things I would do differently on my next project.
Use parchment paper so the plastic won’t stick to the aluminum foil /sheet pan used for baking.
Use the hole punch to make the hole bigger. In my next project, I will punch it about 3X just making the hole bigger and easier to string for a charm.
Once you’ve colored in your designs, cut them out before you bake which will make a nicer design for your project. I didn’t do this in the video but I would make the plastic flat for my next project.
Don’t be alarmed if your DIY Shrinky Dinks start to curl up. That’s what makes the project so fun. They’ll uncurl again.
Once your designs have uncurled and are flat again, they won’t shrink anymore, so you can take it out of the oven.
Clean Up
Clean-up is simple with this project and any time you use Chalk Couture. Remember the designs are reusable so just clean the ink off the stencils with some water and put it back on the white backer sheet on the shiny side. The shiny & sticky sides go together.
The rest of the supplies go back into storage and throw the leftover plastic in the trash or save it for the next project.
How to Use Your DIY Shrinky Dinks
Okay, Now you’ve created your very own Shrinky Dink. Did you have fun? What are you going to do with them?
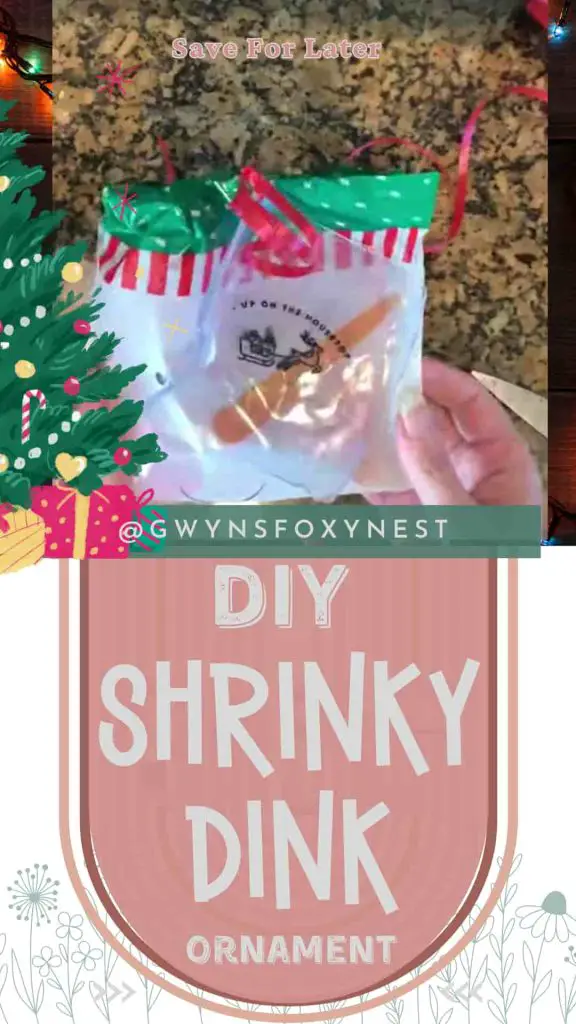
I used mine as a Christmas gift tag that could easily be a shrinky dinks Christmas ornaments, but they can be used for so many different things. I have a bunch of shrinky-dink ideas for Christmas gifts. I would like to make ornaments, luggage tags, sun catchers, and jewelry ( earrings, necklaces, bracelets, etc..) What about you?
I hope you enjoy making amazing shrinky dinks from plastic food containers!
I would love to see what you make!! Be sure to post a picture on my Facebook page on any post! Be sure to Pin this for later and follow for more DIY Inspiration!
FAQ’s
Q: What is a substitute for shrink plastic sheets?
The best substitute for shrinky dink plastic is #6 plastic often found in to-go containers.
Q: What DIY do you use for Shrinky Dinks?
I enjoy using Chalk Couture stencils and Chalk Couture ink.
Q: Can you make shrinky dinks with 1 plastic?
You will need to use plastic stamped with #6 to make shrinky dinks at home.
Q: what side do you bake shrinky dinks on?
Place the color design facing upwards while cooking the shrinky dinks in the oven.
Q: Can you use number 5 plastic for shrinky dinks?
I would recommend using #6 as there are some safety concerns with using #5 plastics for this DIY kids craft.
Related Articles
- Newest Chalk Couture Stencils.
- I’ve never heard of Chalk Couture. What is it?
- DIY Journaling Gift