If you’re looking for a fun and budget-friendly way to spruce up your home decor, look no further than the Dollar Tree DIY watermelon sign. This simple yet eye-catching project will not only add a touch of summer charm to your living space but also demonstrate your creative flair. Let’s walk you through the step-by-step process of creating your very own watermelon-themed sign. Let’s dive in and bring some refreshing summer vibes to your living space!
Full Disclosure: This article may contain affiliate links. For more info, see the Disclaimer Policy
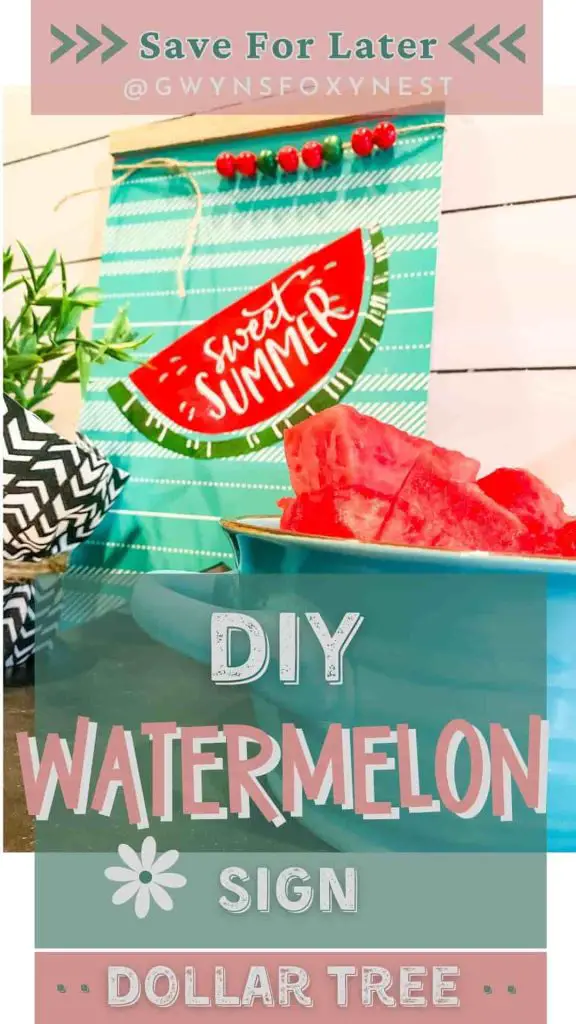
Materials You’ll Need Dollar Tree DIY Watermelon Sign
- Dollar Tree
- Bunting Sign
- Chalk Couture
- Woven plaid pattern silk screen transfer/ stencil (limited quality)
- Sweet summer silk screen transfer/ stencil
- Red paste
- Green paste
- White paste
- Squeegee
- Fuzzing Cloth
- Scrapper (optional)
- (Grab all the supplies in one click in my online craft store.)
Step-by-Step Guide How Do You Layer Chalk Couture Transfers
Layering Chalk Couture transfers is a fantastic way to create unique and stunning designs on your chosen surface. Here’s a step-by-step guide on how to layer Chalk Couture transfers.
Select Your Chalk Couture Transfers:
Choose the Chalk Couture transfers you want to layer. Consider designs that complement each other and will look beautiful when combined.
Some Chalk Couture transfers come as a set and need to be layered to complete the design as the watermelon stencil. However, You can layer any of our transfers to create a custom home decor craft project.
For this Dollar Tree DIY Watermelon Sign, we’ll use two Chalk Couture transfers but we’ll be chalking three transfers due to the watermelon stencil being a set.
Clear as mud?? LOL .. Keep going you’ll see what I mean.
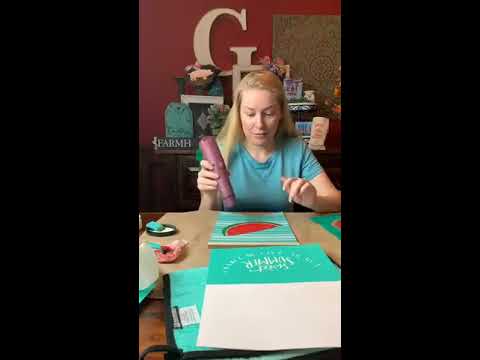
I also have a Chalk Couture How To youtube video to help you as well!
Prepare Your Dollar Tree Sign Surface:
Ensure that your chosen surface, whether it’s a Dollar Tree sign, chalkboard, wood, glass, or any other material, is clean and free from dust and debris. This will help the transfers adhere properly. I used a spritz of water and Chalk Couture scraper to remove the glitter from the Dollar Tree sign and paint it. You can use chalk paint, Sherwin Williams paint, acrylic paint, and even watered-down Chalk Couture chalk paste.
Let it Dry!!
First Chalk Couture Plaid Transfer
First, I applied the woven plaid stencil as the background design using Chalk Couture chalk paste white.
How do you use Chalk Couture large transfers? If I’m using a small sign, I will leave the transfer on the white backer sheet and place the sign under the transfer. You can view my process in detail in the below youtube video.
Let it Dry!
Second – Layer The Chalk Couture Watermelon Transfer
First Transfer Layer:
Start with the bottom layer of your design. Peel off the white backing sheet and carefully place it on the surface. Press it down firmly to ensure it sticks evenly.
Squeegee the First Transfer:
Remove the First Transfer:
Let the First Layer Dry:
Second Transfer Layer:
Squeegee the Second Transfer:
Let It Dry!!
Optional:
How Do You Layer Chalk Couture Transfers Youtube Online Tutorial
The Dollar Tree DIY watermelon sign is a fantastic way to inject a splash of summertime delight into your home decor. With its easy-to-follow steps you can create a vibrant and personalized piece that’s sure to impress your guests. Happy chalking!
FAQs
How do I remove the staining from my Chalk Couture stencil?
Chalk Couture paste may stain your Chalk Couture stencil. This staining will not affect your design just make sure you have all the chalk paste off. You can try to use a Chalk Couture board eraser to remove the staining.
What is the Chalk Couture board eraser for?
After you remove the chalk paste with water sometimes you’ll still a light image or “ghost” image that can’t removed with water. The Chalk Couture board eraser will easily remove the ghost image. It can also be used to remove the staining that may occur on a Chalk Couture transfer.
How To Make Chalk Couture Paste Permanent?
To make the Chalk Couture paste permanent you will need to spray the completed Chalk Couture project with a Spray Sealant.
Related Articles

More … Watermelon Craft Ideas for Adults
Add a splash of color to your home with these handmade summer crafts featuring whimsical watermelon crafts.
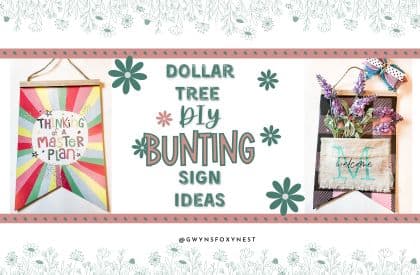
11 Dollar Tree DIY Bunting Sign Ideas: Budget-Friendly and Creative Decorations
Click now for Dollar Tree DIY bunting sign ideas using Chalk Couture stencils.
2 Comments