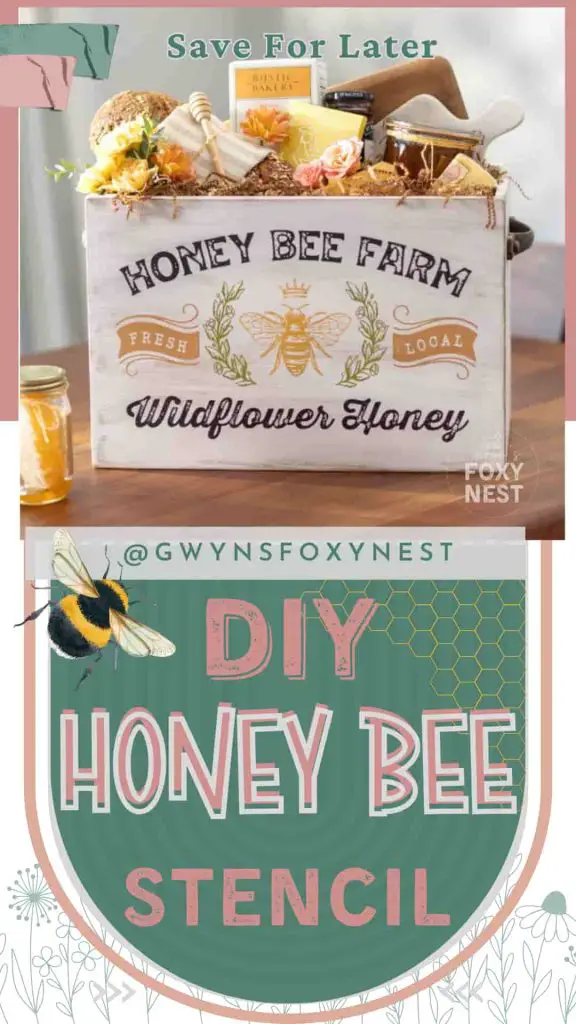
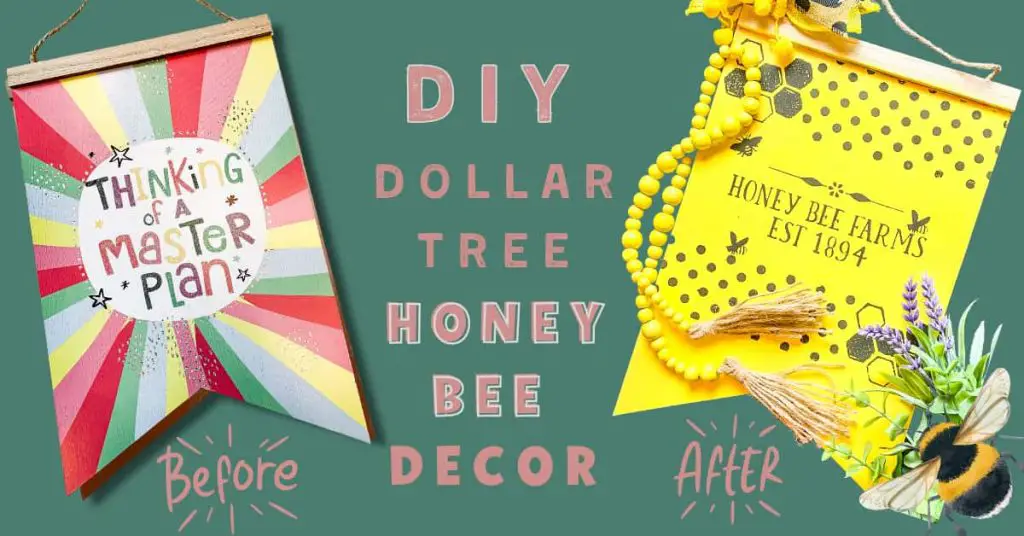
If you’re a DIY enthusiast looking to add a touch of diy honey bee decor charm and nature to your home decor, you’re in the right place! Let’s explore the creative world of honey bee decorations for your home with a Dollar Tree DIY signs honey bee theme, all while incorporating the creativity of Chalk Couture stencils.
Full Disclosure: This article may contain affiliate links. For more info, see the Disclaimer Policy
The Art of DIY Bee Home Decor
DIY bee home decor is a fantastic way to infuse your living space with personality and style. Dollar Tree, with its wide array of budget-friendly supplies, has become a haven for DIY crafters. When you combine Dollar Tree treasures with the versatility of Chalk Couture stencils, you’re on your way to creating stunning, one-of-a-kind home decor pieces. Let’s get started with Chalk Couture Honey Bee Farms transfer / stencil!
Materials You’ll Need For Dollar Tree DIY Signs Honey Bee Themed
- Dollar Tree
- Bunting Sign
- Ribbon
- Jute
- Scissors
- Paint (optional) – You can use watered down chalk paste instead of paint.
- Chalk Couture
Step-by-Step Guide How To Use Stencils For Honey Bee Decorations For Your Home
Prepare Your Dollar Tree Sign Surface:
Ensure that your chosen surface is clean and free from dust and debris. This will help the transfers adhere properly.
Paint it. You can use chalk paint, Sherwin Williams paint, acrylic paint, and even watered-down Chalk Couture chalk paste.
Let it Dry!!
Tip: To remove glitter from the sign spritz it with water and use a Chalk Couture scraper.
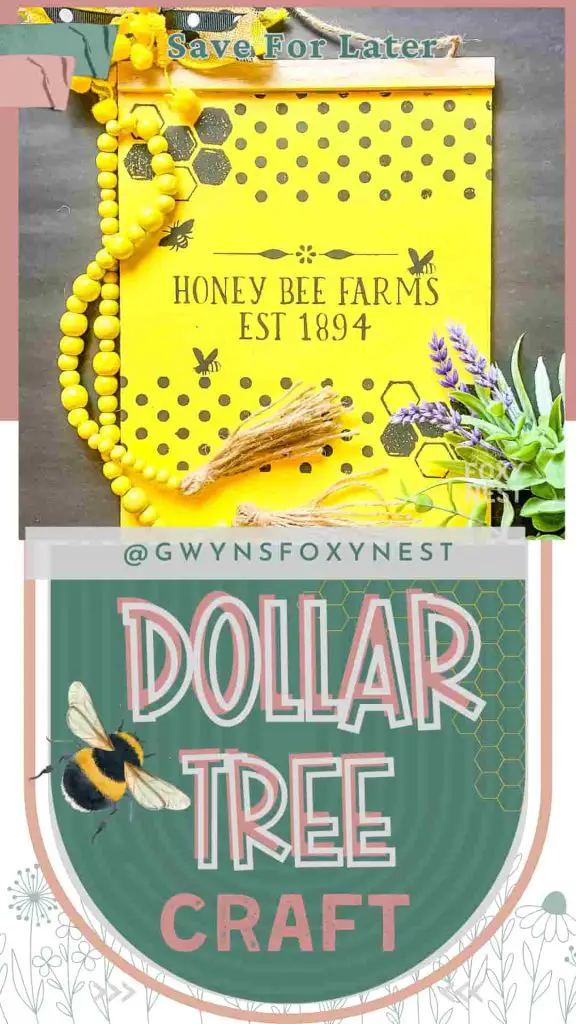
First Design Your DIY Bee Decor Sign
First, decide how you will use the stencils to make the Dollar Tree bee sign. I used 3 stencil designs from the Chalk Couture stencil collection to create a honey bee sign for your home.
Apply and Remove the Chalk Couture Honey Bee Farm Stencil :
Apply the first stencil to the clean and dry surface. Use the squeegee to apply the Chalkology black paste over the Chalk Couture honey bee farm stencil. Ensure that all the openings in the design are filled with paste and remove any excess. Gently lift the honey bee farm transfer from the surface, revealing the first layer of your design. Be careful not to smudge the paste as you remove the transfer.
TIP: You may want to use masking tape to ensure a straight line.
Let the First Layer Dry:
Allow the first layer of Chalkology paste to dry completely before proceeding to the next step. This will prevent smudging when you apply the second layer.

- NEW to Morex, this trendy beehive Print grosgrain ribbon is perfect for all projects, especially baby shower Creations
- 100Percent polyester
- 1 1/2″ x 25 yd. in color Honey Gold
- Honeycomb ribbon is great for making hair bows, home accent decor, party decorations/favors and more! pairs perfect with Out 7532 bees ribbon
- Finished edge Morex item Number 7554.38/25-634
Stencil & Repeat
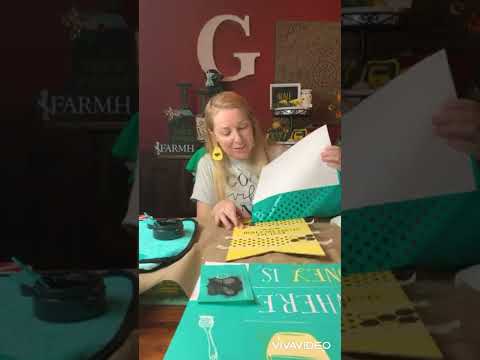
Follow the above steps until you have finished your design! (View Dollar Tree DIY signs honey bee youtube video below to see how I completed the project.)
Dollar Tree DIY Bee Craft Ideas Youtube Tutorial
(Short Version)
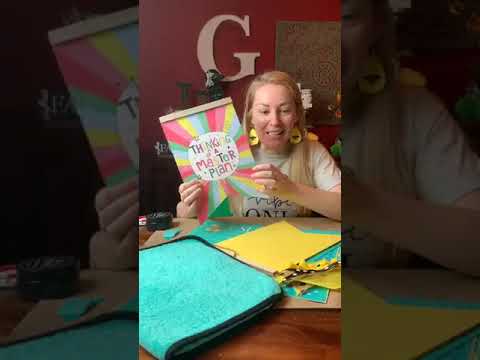
How To Use Multiple Chalk Couture Transfers Youtube Tutorial
( Long Version)
Shop Chalk Couture Honey Bee Farms Stencils
Optional Dollar Tree DIY:
Add Finishing Touches: add your bow or additional embellishments, colors, or details using Chalkology paste, ribbon, and paper to enhance the overall look of your design.
In this DIY journey, we’ve explored the world of Dollar Tree DIY signs with a charming honey bee theme, elevated by the creative power of Chalk Couture stencils. From assembling supplies to crafting your unique decor, you now possess the knowledge and inspiration to transform your living space into a bee-themed haven. Embrace the beauty of nature and let your creativity soar as you bring the delightful world of honey bees into your home. Happy chalking!